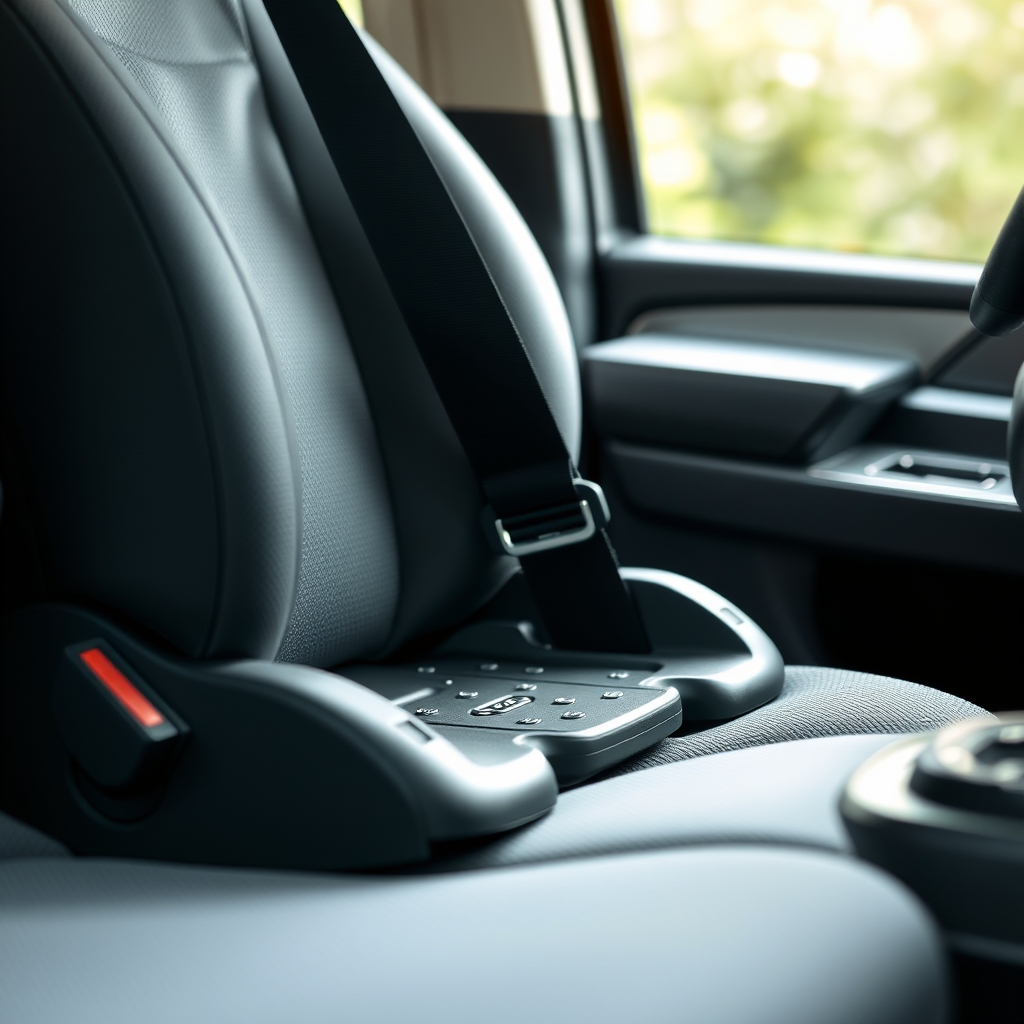
Compact cars present a unique challenge: limited rear‑seat width and a lower roofline can make the 30‑degree angle feel cramped. Here’s how to adapt without compromising safety.
Maximize space
- Remove unnecessary accessories. Take off any detachable cup holders, headrests, or decorative covers that interfere with the seat belt path.
- Use the front passenger seat. If your vehicle’s rear seat cannot accommodate the base, many car seats (especially infant carriers) are approved for front‑seat installation using the seat belt, provided the airbag is deactivated.
- Choose a low‑profile base. Some brands offer “thin” bases designed for tight spaces; they still meet crash standards.
After clearing space, follow the same tight‑and‑level steps. Test the angle with a small level or a phone app; many smartphones have a built‑in level function. If the base still won’t stay at 30 degrees, you can use a NHTSA‑approved angle adjuster that keeps the seat secure while maintaining the required angle.
In the United Kingdom, the NHS advises that a correctly installed seat in a small car should not obstruct the driver’s view or interfere with airbags, reinforcing the need for a proper angle even when space is limited.
Car seat installation for newborns
Newborns need the very best protection because their heads are proportionally larger and their neck muscles are weaker. The safest position is rear‑facing, ideally at a 30‑degree recline, until they reach the maximum rear‑facing limit set by the manufacturer.
Choosing the right seat
Infant carriers (often called “carr‑i‑cots”) attach directly to the base and provide a snug, semi‑reclined position. Look for seats that have a five‑point harness, side‑impact protection, and a removable infant insert that fills the gap between the baby’s shoulders and the harness straps.
Installation tips for newborns
- Place the infant insert inside the carrier before securing the baby. This prevents the baby from sliding down.
- Make sure the carrier’s headrest is at the correct height—most carriers have an adjustable headrest that should be level with the baby’s ears.
- Secure the carrier’s latch (if present) and double‑check the base’s tightness.
- Never place a newborn in a forward‑facing seat; the crash forces can cause severe neck injuries.
Once installed, you can test the security by pulling the carrier outward at the top and bottom; it should stay firmly in place.
The American Academy of Pediatrics (AAP) notes that a correctly installed rear‑facing seat reduces the risk of head injury in a frontal crash by up to 71 %, underscoring why newborns should stay rear‑facing as long as possible.
How to install a car seat without the base?
Some convertible seats are designed to be used without a base, especially when traveling by plane or moving between vehicles. While a base offers the most stable anchoring, you can still achieve a safe installation without it.
Using the seat belt directly
- Lay the seat on the vehicle seat, rear‑facing if the child is still within the rear‑facing weight limit.
- Thread the seat belt through the seat’s belt path (usually marked “rear‑facing” or “forward‑facing”).
- Pull the belt tight and engage the belt’s locking mechanism (click the latch plate).
- Apply tension by pulling the belt’s webbing end while holding the seat steady.
- Perform the “tight‑and‑level” test, ensuring the seat doesn’t move more than an inch side‑to‑side.
Because the seat is not anchored to a base, it’s crucial to double‑check the belt tension each time you install it. Some parents find a belt tensioner (a small metal tool sold at baby stores) helpful for achieving a consistent pull.
According to the U.S. Consumer Product Safety Commission (CPSC), seats installed without a base must still meet the same crash‑test standards, so the “tight‑and‑level” test remains the benchmark for safety.
Car seat installation rear‑facing vs forward‑facing
The American Academy of Pediatrics (AAP) recommends keeping children rear‑facing as long as possible, up to the seat’s weight or height limit. Rear‑facing protects the head, neck, and spine by spreading crash forces across the back of the car seat.
Benefits of rear‑facing
- Reduces the risk of fatal injury by up to 71 % in frontal crashes (AAP, 2022).
- Provides better side‑impact protection because the seat’s shell absorbs energy before it reaches the child.
- Supports the child’s developing neck muscles, which are not yet strong enough for forward‑facing forces.
When to switch to forward‑facing
Transition only when the child exceeds the rear‑facing limits—most modern seats allow rear‑facing up to 40 lb or 40 in. After the switch, continue using the forward‑facing seat with a harness until the top tether limit is reached, then move to a booster.
Installation angles differ: rear‑facing seats require a 30‑degree recline, while forward‑facing seats should be level with the vehicle seat. Always double‑check the tether strap after you’ve secured the seat.
Internationally, the UK’s NHS aligns with AAP guidance, urging parents to keep children rear‑facing until the maximum limit of the seat is reached, regardless of age.
Common mistakes when installing a car seat
Even seasoned parents can slip up. Below are the most frequent errors and how to avoid them.
After each installation, perform the “wiggle test” and the “recline test.” If you’re unsure, many local fire stations or police departments offer free car seat checks.
How to install a car seat in a truck or SUV?
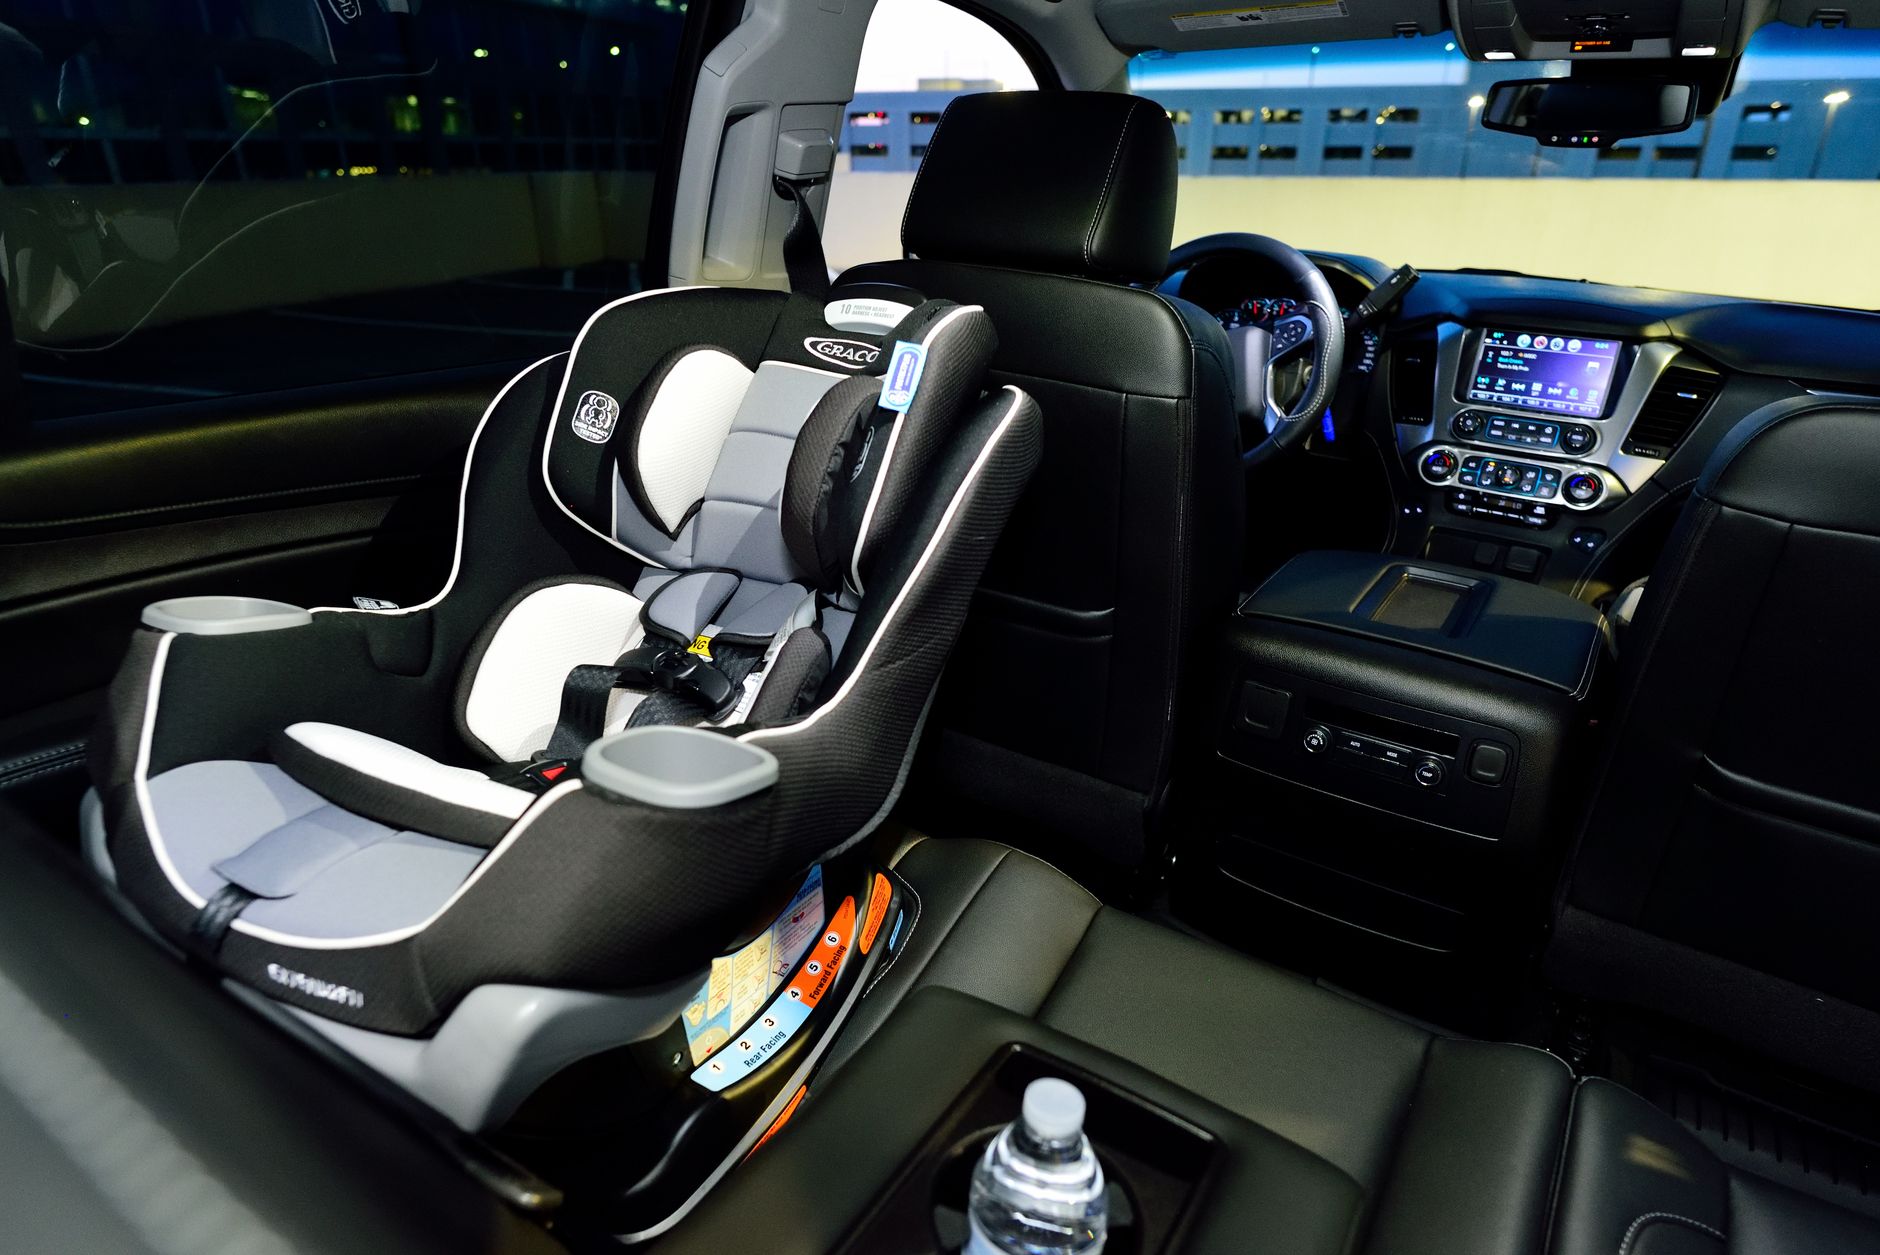
Trucks and SUVs often have higher seating positions and a larger cargo area, but they also come with unique anchoring points. The key is to locate the lower anchors (usually in the rear seats) and the top tether, which may be on the rear door or the roof rail.
Finding the anchors
Consult the vehicle’s owner manual; it will label the LATCH anchors with a “L” for lower anchors and a “T” for tether. In many SUVs, the anchors are behind the seat cushion, so you may need to fold the seat forward to access them.
Installation steps for trucks
- Place the car seat on the rear bench or a single rear seat, depending on the seat’s width.
- If using LATCH, attach the lower straps to the anchors. If the straps are too short, you can use an extension kit approved by the car seat manufacturer.
- Secure the seat belt through the designated path if the belt is tighter than the LATCH system.
- For forward‑facing seats, locate the top tether—often on the rear door or ceiling—and fasten it tightly.
- Check the tightness with the wiggle test; the seat should not move more than an inch side‑to‑side.
Because trucks often have a higher center of gravity, double‑check the seat’s angle and ensure the base isn’t sliding forward when you press down on the top of the seat.
The Federal Motor Vehicle Safety Standards (FMVSS) require that all LATCH anchors support a minimum of 1,000 N of force, which is more than sufficient for most child seats, but you still need to verify that the straps are fully engaged.
Car seat installation for side‑impact protection
Side‑impact forces can be especially dangerous for a child’s head and torso. Modern car seats incorporate side‑impact padding, energy‑absorbing shells, and reinforced frames. Proper installation maximizes these features.
Key features to look for
- Energy‑absorbing foam. Some seats have a layer that compresses on impact, reducing force transfer.
- Rigid side wings. These create a barrier that limits lateral movement.
- Adjustable side cushions. Ensure the cushions are positioned flush against the child’s torso.
Installation tips for side‑impact safety
- Follow the manufacturer’s instructions for positioning side cushions—most need to be inserted before the child.
- Secure the seat using the method that provides the least amount of movement; often LATCH offers a tighter grip.
- Check the seat’s “tight‑and‑level” test from both front‑to‑back and side‑to‑side.
- If your vehicle has an integrated side‑impact airbag for rear seats, verify that the car seat is compatible (most are) and that the airbag is not disabled.
When everything is snug, the side‑impact structures work as intended, absorbing energy before it reaches the child.
Car seat installation for twins and other special situations
Families with twins, convertible vehicles, special‑needs children, or grandparents caring for grandchildren often wonder if a single car seat can meet all their needs. The answer depends on the child’s age, weight, and the vehicle’s configuration.
Twins
Many parents choose two identical infant carriers that attach to separate LATCH anchors on the rear bench. If space is limited, a dual‑anchor base (sometimes called a “twin base”) can hold two seats side‑by‑side, but you must verify that the combined weight does not exceed the vehicle’s LATCH capacity (often 80 lb total).
Convertibles and SUVs
Convertible cars often have a lower roofline, making the 30‑degree rear‑facing angle tricky. Use a seat‑angle adjuster that keeps the base at the proper angle without compromising the seat belt path.
Special‑needs children
Children with mobility or sensory challenges may need additional support. Look for seats with adjustable headrests, extra side padding, and harnesses that accommodate medical devices. Some manufacturers offer specialty adapters that allow a wheelchair or stroller to be secured alongside the car seat.
Grandparents
Older caregivers may find the installation process physically demanding. Many community centers offer free “Car Seat Safety Checks” staffed by certified child passenger safety technicians (CPSTs). Grandparents can also use a car seat installation aid—a lightweight, telescoping tool that helps pull the seat belt tight without straining the back.
Regardless of the scenario, the core steps—tight‑and‑level, proper angle, and secure harness—remain unchanged.

How to install a car seat in a rideshare or rental car?
When you’re traveling with a rideshare, rental, or a borrowed vehicle, the car’s LATCH anchors may be hidden or the seat belt path may differ from your own car. The safest approach is to bring a portable, seat‑belt‑compatible car seat (often labeled “universal” or “belt‑only”).
Step‑by‑step for rideshares
- Ask the driver if the rear seat has a working seat belt and whether the airbags can be turned off (most rideshares have the airbag on).
- Place the car seat on the rear seat, rear‑facing if the child is still within the rear‑facing limit.
- Thread the vehicle’s seat belt through the seat’s belt path, making sure the belt lies flat without twists.
- Pull the belt tight and click the latch plate to lock it. Use a belt tensioner if the belt feels loose.
- Perform the “tight‑and‑level” test. If the seat moves more than an inch, you may need to switch to a different vehicle.
The National Highway Traffic Safety Administration (NHTSA) advises that, when using a rideshare, you should never place a child in a front‑seat position unless the vehicle’s airbag can be deactivated, as airbags are calibrated for adult bodies.
Car seat installation checklist for long road trips
Long drives can test the durability of a car seat installation. A quick pre‑trip checklist helps you avoid surprises halfway across the country.
- Re‑run the “tight‑and‑level” test after the first 10 minutes of driving.
- Check the harness straps for any loosening after each stop.
- Secure loose items in the vehicle so they don’t become projectiles in a crash.
- Pack a portable level, belt tensioner, and the seat’s manual in an easily reachable spot.
- Plan bathroom breaks early; a rushed re‑installation can lead to missed steps.
According to the American Automobile Association (AAA), a well‑secured car seat can reduce the risk of fatal injury by up to 71 % on highways, making these simple checks worth the few extra minutes.
Using a car seat with a travel system (stroller‑car seat combo)
Travel systems combine a stroller and an infant carrier, allowing you to click the seat in and out without re‑installing the base each time. However, the base still needs to be securely anchored in the vehicle.
Best practices
- Install the base according to the standard LATCH or seat‑belt method; never rely on the stroller’s wheels for support.
- After clicking the carrier onto the base, double‑check the “tight‑and‑level” test before each trip.
- When transitioning from car to stroller, keep the carrier’s latch engaged to prevent accidental detachment.
- Store the stroller in a position where the carrier’s wheels do not rest on the vehicle floor, which could shift weight.
The FDA’s Consumer Safety Reporting System has logged a small number of injuries linked to improperly secured travel‑system carriers, reinforcing the need for a solid base installation every time.
Myth vs. fact
Myth: “If the car seat feels snug, it’s safe.”
Fact: Feeling snug is subjective; the tight‑and‑level test is the objective standard. The seat should not move more than an inch side‑to‑side.
Myth: “All car seats are the same, so any will work in any vehicle.”
Fact: Car seats vary in weight limits, anchoring methods, and angle requirements. Always match the seat to your child’s age, weight, and vehicle’s LATCH capacity.
Myth: “Once installed, you never need to check it again.”
Fact: Re‑check the installation after any major bump, after adding a child, or after moving the seat to a different vehicle. The tension can loosen over time.
Key takeaways
- Use the “tight‑and‑level” test to confirm a secure installation.
- Rear‑facing is safest for infants and toddlers; keep them rear‑facing until at least 2 years or 40 lb.
- Choose the anchoring method that provides the tightest fit—LATCH or seat belt.
- For small cars, front‑seat installation (airbag off) or low‑profile bases can solve space issues.
- Side‑impact protection works best when the seat is fully tightened and side cushions are properly positioned.
- Seek a free professional check from a certified child passenger safety technician if you’re unsure.
Frequently asked questions
What are the different types of car seats?
There are four main categories: infant carriers (rear‑facing only, used with a base), convertible seats (rear‑ and forward‑facing), combination seats (convertible that become boosters), and booster seats (forward‑facing, no harness). Choose the type that matches your child’s age, weight, and height.
How often should I replace my car seat?
Car seats should be replaced after any moderate or severe crash, if they’re older than 10 years, or if the expiration date printed on the label has passed. Even if the seat looks fine, the plastic can degrade over time, reducing its protective capacity.
Can I use a car seat past its expiration date?
No. Expired seats may not meet current safety standards, and the materials can become brittle. Always check the label for the manufacture date and follow the manufacturer’s expiration guidelines.
How do I know if my car seat is installed correctly?
Perform the “tight‑and‑level” test: grab the base at the top and bottom and try to move it. It should not shift more than an inch side‑to‑side. Also, check the angle with a level (30 degrees for rear‑facing) and ensure the harness straps are snug with no excess webbing.
What are the most common car seat installation mistakes?
Common errors include using the wrong anchoring method, installing at a 0‑degree angle, leaving the top tether unattached, and not tightening the base enough. Refer to our mistake table for a quick visual guide.
Can I install a car seat in any vehicle?
Most modern vehicles are equipped with LATCH anchors, but older cars may lack them. In any vehicle, you can always use the seat belt as an alternative anchoring method, provided the belt is compatible with the car seat’s belt path.
What if my vehicle has a seat‑belt pretensioner—does it affect installation?
Seat‑belt pretensioners are designed to tighten the belt during a crash and do not interfere with car seat installation. However, you should still perform the “tight‑and‑level” test after installing the seat to ensure the pretensioner does not cause unwanted movement.
My car seat doesn’t seem to fit the LATCH anchors—what should I do?
If the LATCH straps are too short, check the car seat’s manual for an approved extension kit. If extensions are not permitted, use the vehicle’s seat belt instead, as it often provides a tighter fit. Always follow the manufacturer’s guidance to avoid compromising safety.
When to see a doctor or specialist
If your child has a medical condition that affects mobility, breathing, or positioning (e.g., cerebral palsy, muscular dystrophy, or severe scoliosis), consult a pediatrician or a certified child passenger safety technician (CPST) before installing the seat. Also, if you notice any of the following red‑flag signs, seek professional help:
- Persistent looseness after tightening the seat belt or LATCH straps.
- Visible damage to the car seat frame, buckles, or harness webbing.
- Unusual noises or movement in the seat during a short drive.
- Uncertainty about which anchoring method is safest for your vehicle.
Certified CPSTs are available through many fire stations, police departments, and hospitals. You can locate a technician near you on the NHTSA website. Remember, this article provides general guidance; it does not replace personalized advice from a qualified professional.
References
- American Academy of Pediatrics. “Policy Statement: Car Seats and Child Passenger Safety.” 2022.
- National Highway Traffic Safety Administration. “Child Passenger Safety Seat Installation Guide.” 2023.
- U.S. Consumer Product Safety Commission. “Car Seat Safety Tips.” 2023.
- American Association of Pediatrics. “Car Seat Recommendations for Special‑Needs Children.” 2021.
- National Highway Traffic Safety Administration. “Certified Child Passenger Safety Technician Locator.” 2024.
- Harvard T.H. Chan School of Public Health. “Child Safety in Vehicles: Evidence Review.” 2022.
- U.S. Federal Motor Vehicle Safety Standards (FMVSS) 225. “Child Restraint Systems.” 2021.
- U.S. Food and Drug Administration. “Consumer Safety Reporting System (CAERS) – Car Seat Injuries.” 2023.
- National Health Service (UK). “Car seat safety – a guide for parents.” 2022.