Quick take: ✅ You can install a car seat with a seat belt correctly by following a step‑by‑step routine, using a belt tensioner or lock‑off, and confirming the seat‑belt clicks and angle are spot on. Check for firm, immobile installation and a 45‑degree rear‑facing angle, then double‑check with the “tight‑rope” test. ⚠️ If any part feels loose or the belt doesn’t lock after two clicks, re‑tighten or seek a certified child‑passenger‑safety technician.
Picture this: you’re in the grocery store parking lot at 3 a.m., cradling a newborn in one arm while the other arm wrestles a bulky car seat into the back seat. The seat‑belt buckle clicks, you hear a reassuring “click‑click,” but a lingering doubt whispers, “Did I do this right?” You’re not alone—many new parents feel that mix of love‑filled urgency and technical uncertainty.
At BumpBites we’ve spoken with dozens of expectant and new parents who’ve stared at tangled seat‑belts, watched YouTube tutorials twice, and still wondered whether the car seat would stay put in a sudden stop. The bottom line? A correctly installed car seat with a seat belt protects your baby the same way a properly fitted harness protects a race‑car driver. This guide walks you through every nuance, from the first click to the final “tight‑rope” check, and equips you with printable checklists, video resources, and troubleshooting tips.
We’ll cover the exact process for rear‑facing and convertible seats, how the angle and tension matter, the role of seat‑belt tensioners, how to adapt the method for sedans, SUVs, and three‑row minivans, and the key differences between LATCH and seat‑belt installations. By the end you’ll feel confident that your car seat is installed with seat belt correctly, every time.
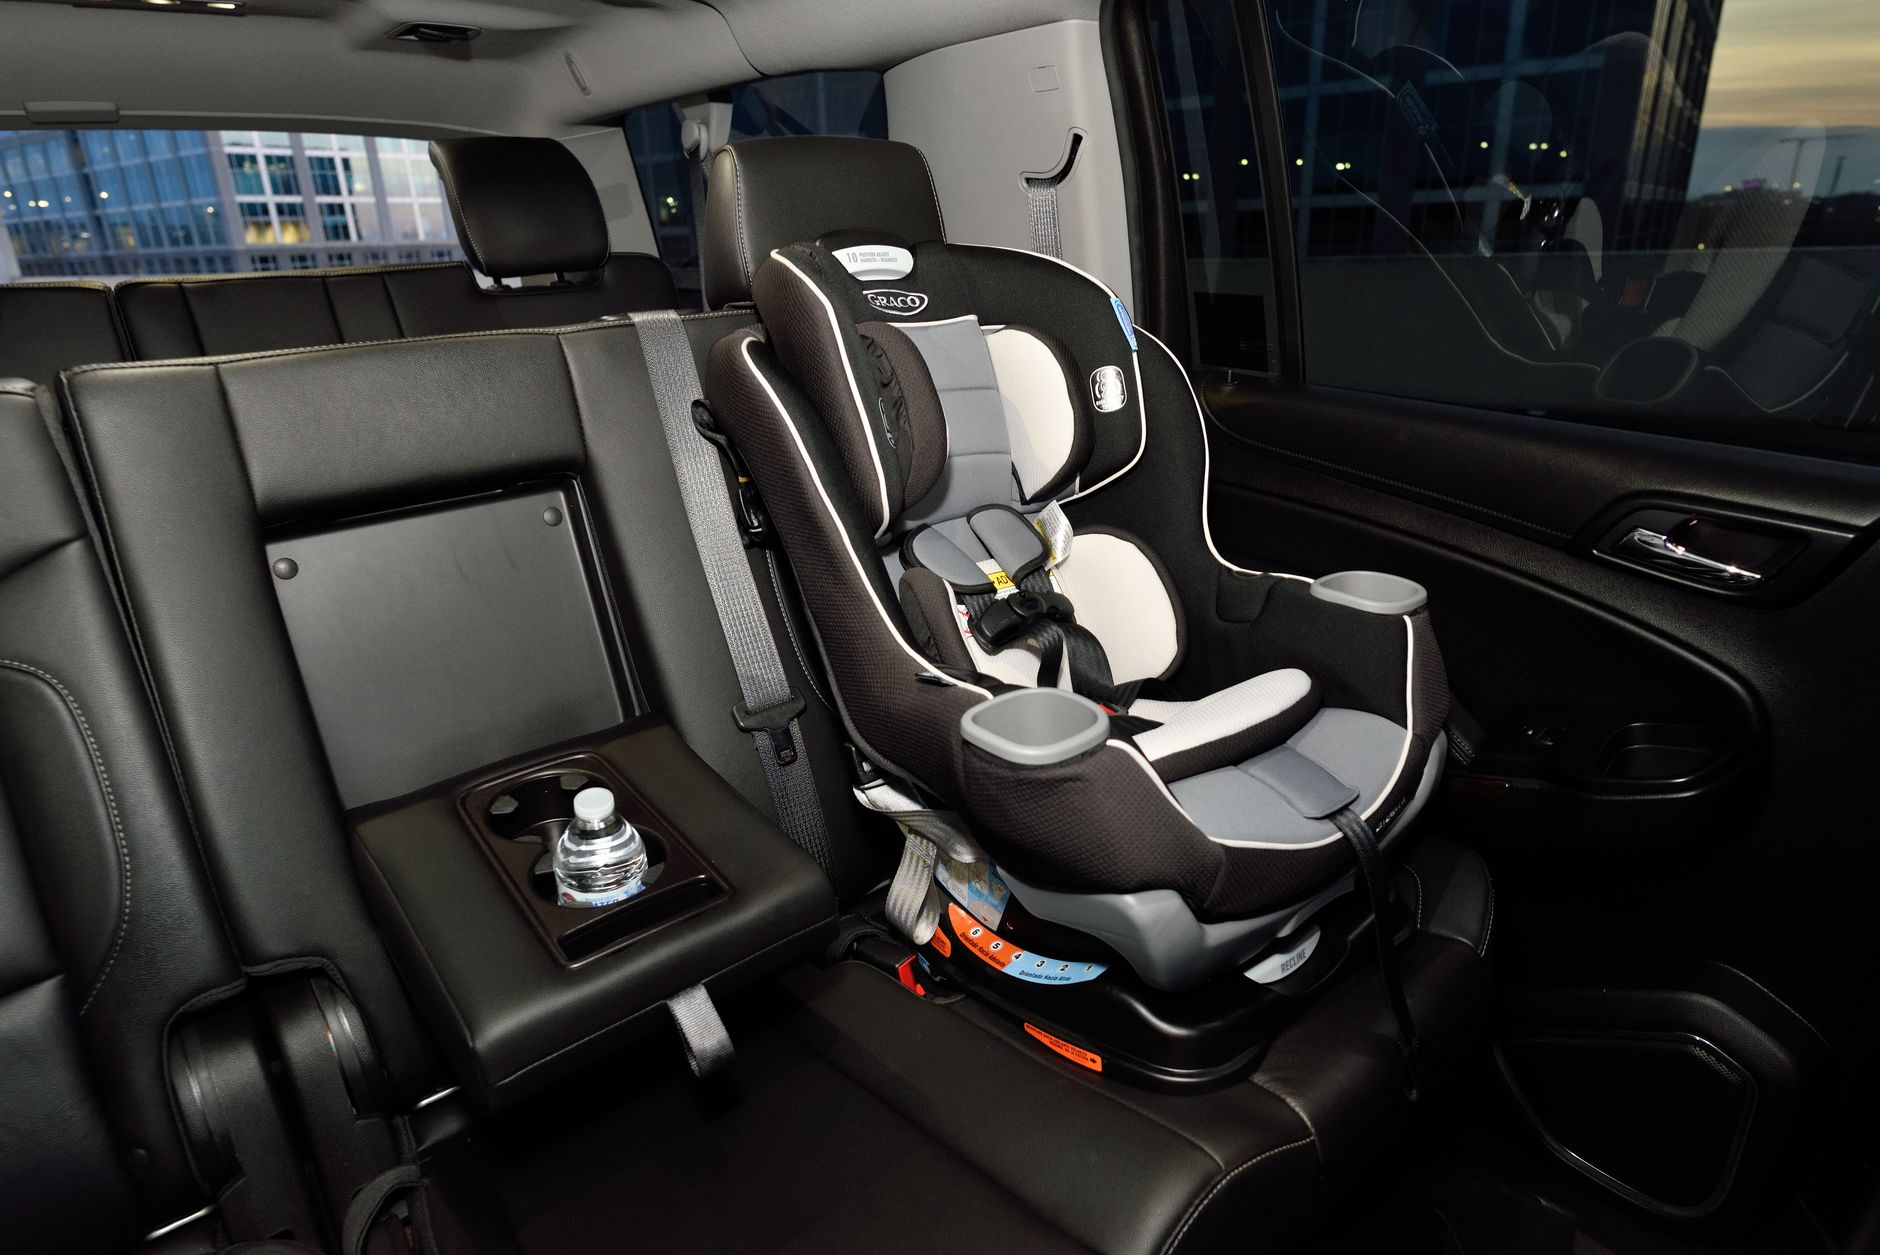
How to install a rear‑facing car seat using a seat belt
Rear‑facing is the safest position for newborns and infants because it spreads crash forces across the whole body, especially the head, neck, and spine. The National Highway Traffic Safety Administration (NHTSA) recommends that infants remain rear‑facing until at least age 2 or until they outgrow the car seat’s height limit. Below is the precise method to install a rear‑facing seat with a seat belt.
- Car seat with rear‑facing mode
- Vehicle seat belt (preferably a three‑point belt)
- Seat‑belt tensioner or lock‑off (often supplied by the car‑seat manufacturer)
- Installation manual for both car and seat
- Printed checklist (downloadable PDF linked below)
Step‑by‑step installation
- Position the seat. Slide the car seat all the way back against the vehicle seat’s head‑rest. For a 45‑degree rear‑facing angle, use the built‑in angle indicator or a small level.
- Thread the belt. Pull the seat belt out of the buckle, then thread it through the car seat’s belt path—usually a wide channel at the base of the seat. Make sure the belt lies flat, without twists.
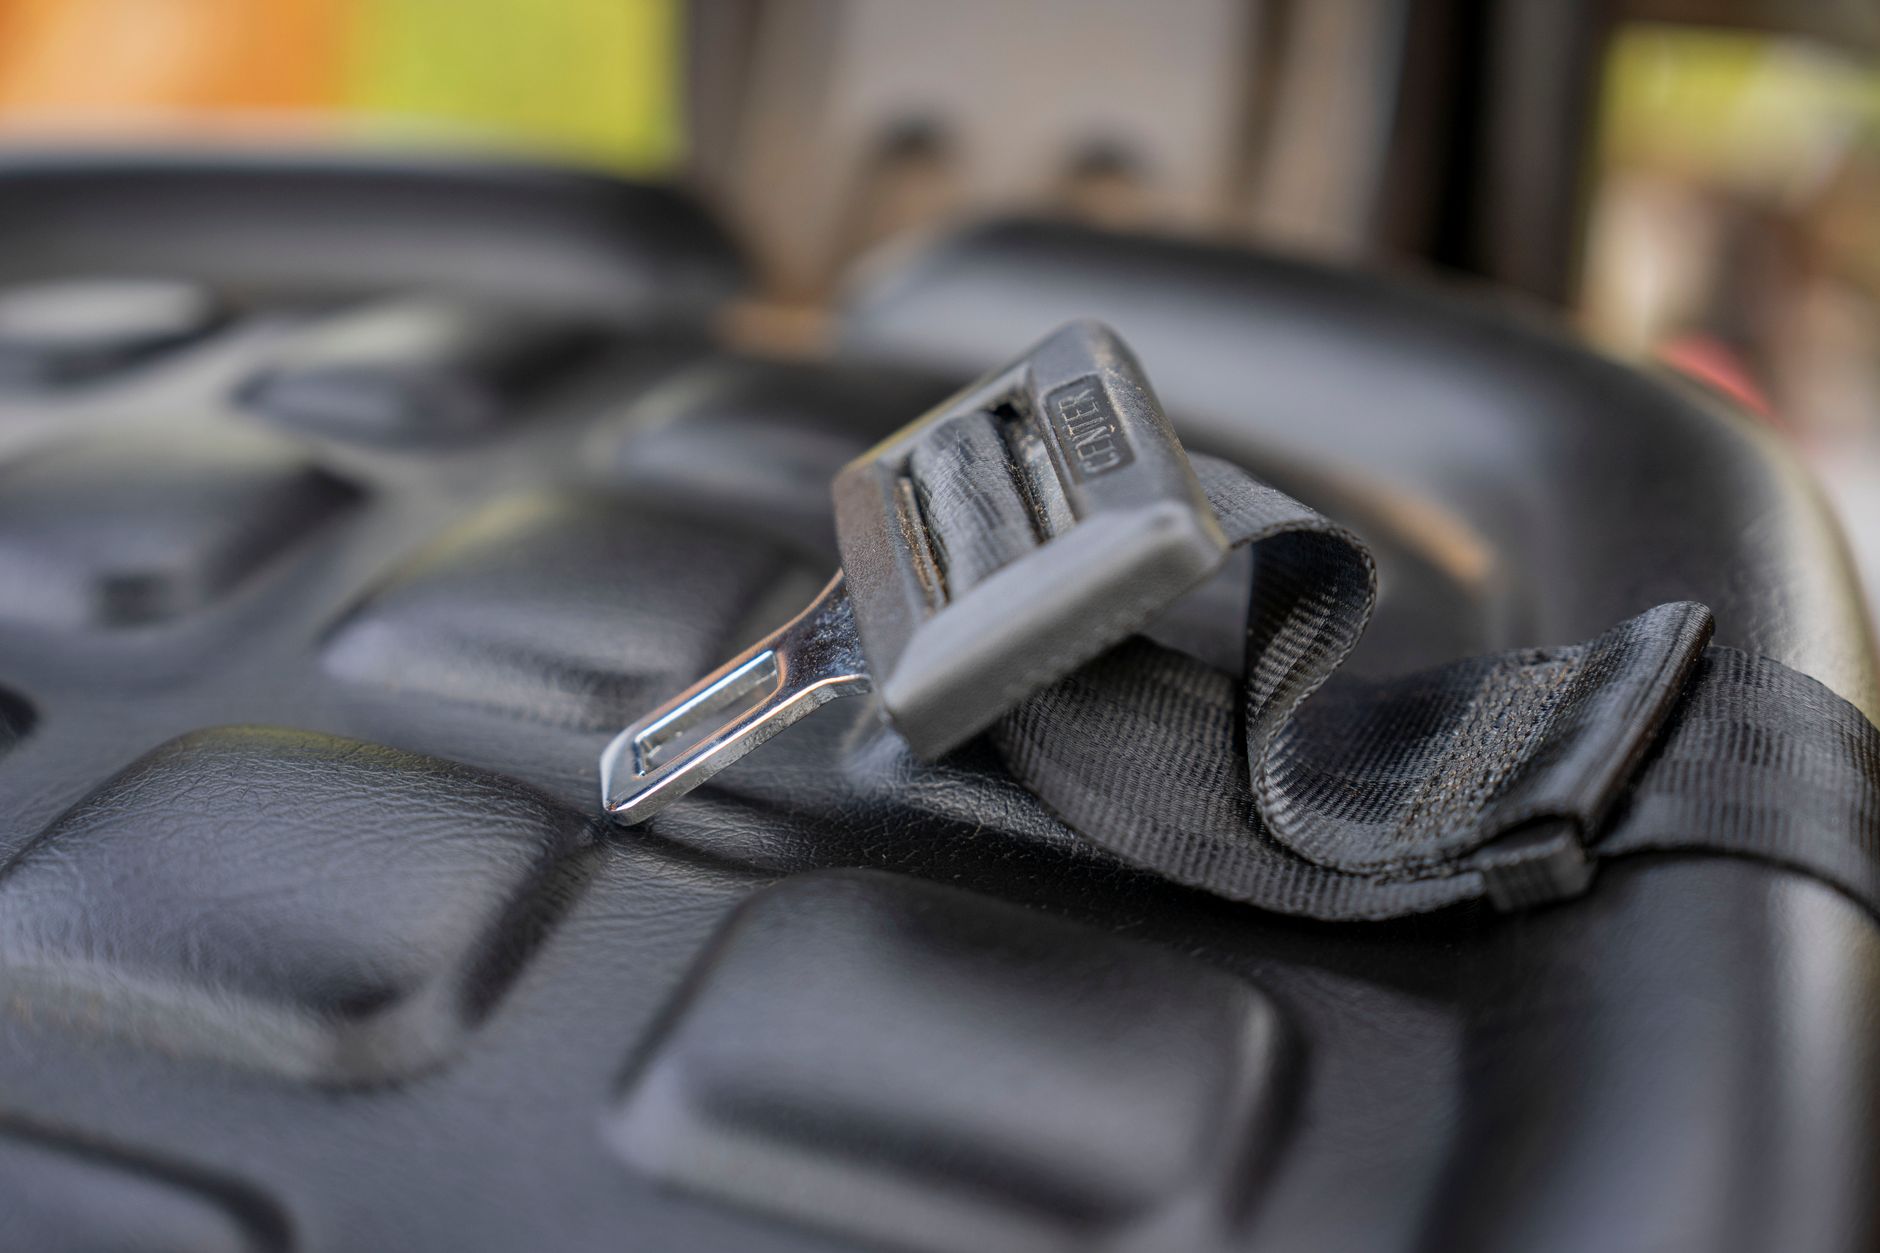
- Lock the belt. Pull the belt all the way out, then re‑insert it into the buckle until you hear the first “click.” For many vehicles, pulling the belt a second time will engage the “locking” mode (second click). If your car does not lock automatically, use a tensioner or lock‑off to create a firm anchor.
- Tighten the belt. With the belt locked, press down on the car seat while pulling the belt slack out. The goal is a tight‑rope test: grab the seat at the belt path and try to move it side‑to‑side. It should not shift more than an inch.
- Check the angle. Verify the 45‑degree recline using the indicator or a small bubble level. If the seat tilts forward, add a rolled‑up towel under the base (only as a temporary measure) until you can adjust the belt tension.
- Secure the top tether (if applicable). Some rear‑facing seats have a top tether that adds side‑impact protection. Follow the manufacturer’s instructions for attaching it to the vehicle’s anchor point.
- Final verification. Perform the “tight‑rope” test again and confirm the belt clicks twice. If the belt feels loose after a few minutes, re‑tighten before the first drive.
When each of these steps is followed, you’ve completed a car seat installation with seat belt correctly for a rear‑facing infant.
Remember, the tight‑rope test is not a one‑time check. Even after a successful installation, a long drive can cause the belt to settle, so repeat the test before each new outing. This habit builds confidence and catches any subtle loosening before it becomes a safety issue.
Step by step guide to seat belt car seat installation 2026
Vehicle manufacturers have been updating seat‑belt designs and locking mechanisms, and car‑seat makers have responded with new tensioners and lock‑offs. The 2026 edition of this guide reflects those changes, ensuring you’re using the latest safety standards set by the American Academy of Pediatrics (AAP) and the Consumer Product Safety Commission (CPSC).
2026‑specific belt features
Many 2024‑2025 model cars now include a “soft‑lock” belt that requires a slight pause before the second click engages. This design reduces accidental lock‑offs but can confuse new parents. The key is to pull the belt firmly, wait a second, then pull again to lock. If the second click never occurs, consult the vehicle’s owner manual—some models need a “pull‑and‑hold” motion instead of a second pull.
Updated tensioner recommendations
Newer tensioners have an integrated “click‑indicator” that shows when the correct tension is reached. Align the indicator with the “green” zone before finalizing the lock‑off. This visual cue replaces the older “two‑click” rule for many seats, though the two‑click method still works as a backup.
Step‑by‑step (2026) checklist
- Read the car‑seat manual’s “2026 update” section.
- Place the seat against the vehicle backrest, aligning the angle indicator.
- Thread the belt through the designated path—ensure no twists.
- Engage the belt’s locking mode (two‑click or pull‑and‑hold, per vehicle).
- Attach the tensioner, aligning the click‑indicator to the green zone.
- Pull the belt tight while pressing the car seat down.
- Perform the tight‑rope test.
- Secure any top tether if your seat includes one.
- Document the installation with a photo for future reference.
Print the car seat installation checklist PDF and keep it in your glove compartment. A quick visual reference helps you repeat the process correctly after each trip.
Because newer vehicles may have additional safety features—such as automatic emergency braking or lane‑keep assist—make sure those systems are not inadvertently disabled by the car‑seat installation. Most modern cars allow you to keep active safety tech while the seat belt is locked, but a quick glance at the owner’s guide can confirm this.
Common mistakes when installing a car seat with a seat belt
Even seasoned parents can slip up. Below are the most frequent errors, why they matter, and how to avoid them.
- Twisting the belt. A twisted belt reduces tension and can cause the seat to rotate during a crash. Always lay the belt flat before locking.
- Using the wrong belt path. Some seats have multiple belt routes (e.g., “forward” vs “rear”). Choose the one labeled “rear‑facing” for infants.
- Insufficient clicks. One click means the belt is still in “free‑float” mode. Two clicks (or the appropriate 2026 lock‑off) are required for firm anchoring.
- Incorrect angle. A seat that leans forward can cause the infant’s head to flop, increasing the risk of airway obstruction.
- Skipping the top tether. For convertible seats, the top tether adds crucial side‑impact protection; omitting it reduces crash performance by up to 30 % (AAP).
- Over‑relying on cushions. Adding pillows or blankets beneath the seat to achieve the angle is a temporary fix that can become permanent, compromising safety.
- Not re‑checking after a trip. Seat belts can settle after a long drive. Re‑perform the tight‑rope test before each new outing.
Another subtle mistake is overlooking the vehicle’s “low‑anchor” slot, which many parents miss when installing in a sedan. Using the low‑anchor path often yields a tighter, more stable fit because the belt’s angle aligns better with the seat’s base.
How to check if a car seat is installed correctly with a seat belt
Verification is as important as installation. The following tests are endorsed by NHTSA and the AAP.
1. The tight‑rope test
Grab the car seat at the belt path and try to move it side‑to‑side. It should not shift more than 1 inch. If it does, re‑tighten the belt.
2. The “two‑click” or indicator test
Most seat belts lock after two audible clicks. If your vehicle uses a click‑indicator, ensure the needle sits in the green zone.
3. Angle verification
Use the built‑in angle indicator or a small bubble level. Rear‑facing seats should be at a 45‑degree angle; convertible seats in rear‑facing mode often require a 30‑40 degree angle, per the manufacturer.
4. Top‑tether tension
If your seat includes a top tether, pull it tight so there is no slack, but avoid over‑tightening which could warp the frame.
5. Visual cue checklist
Cross‑reference each step with the printable checklist. If any box remains unchecked, pause and correct the issue before driving.
Finally, ask a friend or family member to give the seat a gentle shake. If the seat remains rock‑steady, you’ve likely achieved the correct tension. This “second‑pair‑of‑eyes” check is a quick way to catch subtle slack that you might miss.
Installing a convertible car seat with seat belt in a sedan
Sedans present a relatively straightforward environment because the back seat is a single, flat surface. However, the limited width can make belt routing tricky.
Preparation
Clear the back seat of any objects, and locate the vehicle’s three‑point seat belt. Most sedans have a low anchor point near the floor; use the belt’s low‑anchor path for optimal tension.
Installation steps specific to a sedan
- Place the convertible seat all the way back, aligning the angle indicator.
- Thread the belt through the rear‑facing path, ensuring the belt sits low in the vehicle’s “low‑anchor” slot.
- Engage the belt’s locking mode (two clicks or pull‑and‑hold).
- Attach a seat‑belt tensioner if the belt does not lock firmly after two clicks.
- Pull the seat down firmly while tightening the belt; the seat should not move more than an inch side‑to‑side.
- If the seat includes a top tether, attach it to the vehicle’s rear‑center anchor point—often located behind the seat back.
Side‑impact protection
Convertible seats often have side‑impact panels that engage when the top tether is used. Verify that the panel sits flush against the vehicle’s backrest; any gaps reduce the seat’s crash performance.
Best car seat belt installation tips for newborns
- Use a belt tensioner to achieve firm tension when the belt feels “soft.”
- Check the angle frequently; newborns have limited head control and need the proper recline.
- Keep the infant’s harness snug (no more than one finger between the strap and chest).
Even after a perfect install, it’s a good idea to revisit the angle after the baby’s first month. As they grow, the seat’s built‑in recline indicator may shift, and a quick readjustment keeps the airway open.
Seat belt tensioner usage for car seat installation
A seat‑belt tensioner is a small metal device that slides onto the belt, allowing you to pull the belt tighter than you could with your hands alone. It is especially useful in vehicles where the belt’s locking mechanism is hard to engage.
When to use a tensioner
- When the belt does not lock after two clicks.
- If the belt feels “soft” and you cannot achieve a firm fit.
- In larger vehicles (SUVs, minivans) where the belt’s length creates extra slack.
How to attach the tensioner
- Thread the belt through the car seat’s belt path as usual.
- Slide the tensioner onto the belt, positioning it near the vehicle’s buckle.
- Pull the belt tight while holding the tensioner; the device’s “click” indicator will show when proper tension is reached.
- Lock the belt by pulling the free end until you hear the second click, then lock the tensioner in place.
Seat‑belt tensioner vs lock‑off
Both devices serve the same purpose, but lock‑offs are built into many newer car seats and have a “green‑zone” indicator. Tensioners are universal accessories that work with any seat. Choose the one that feels easiest for you; the safety outcome is identical when used correctly.
When you first try a tensioner, you might notice a slight “snapping” sensation as the metal lever engages. That sound signals a secure lock‑in, not a problem. If the tensioner feels stuck, release the belt, reposition the device, and try again—never force it.
Installing a car seat with seat belt in a minivan with three rows
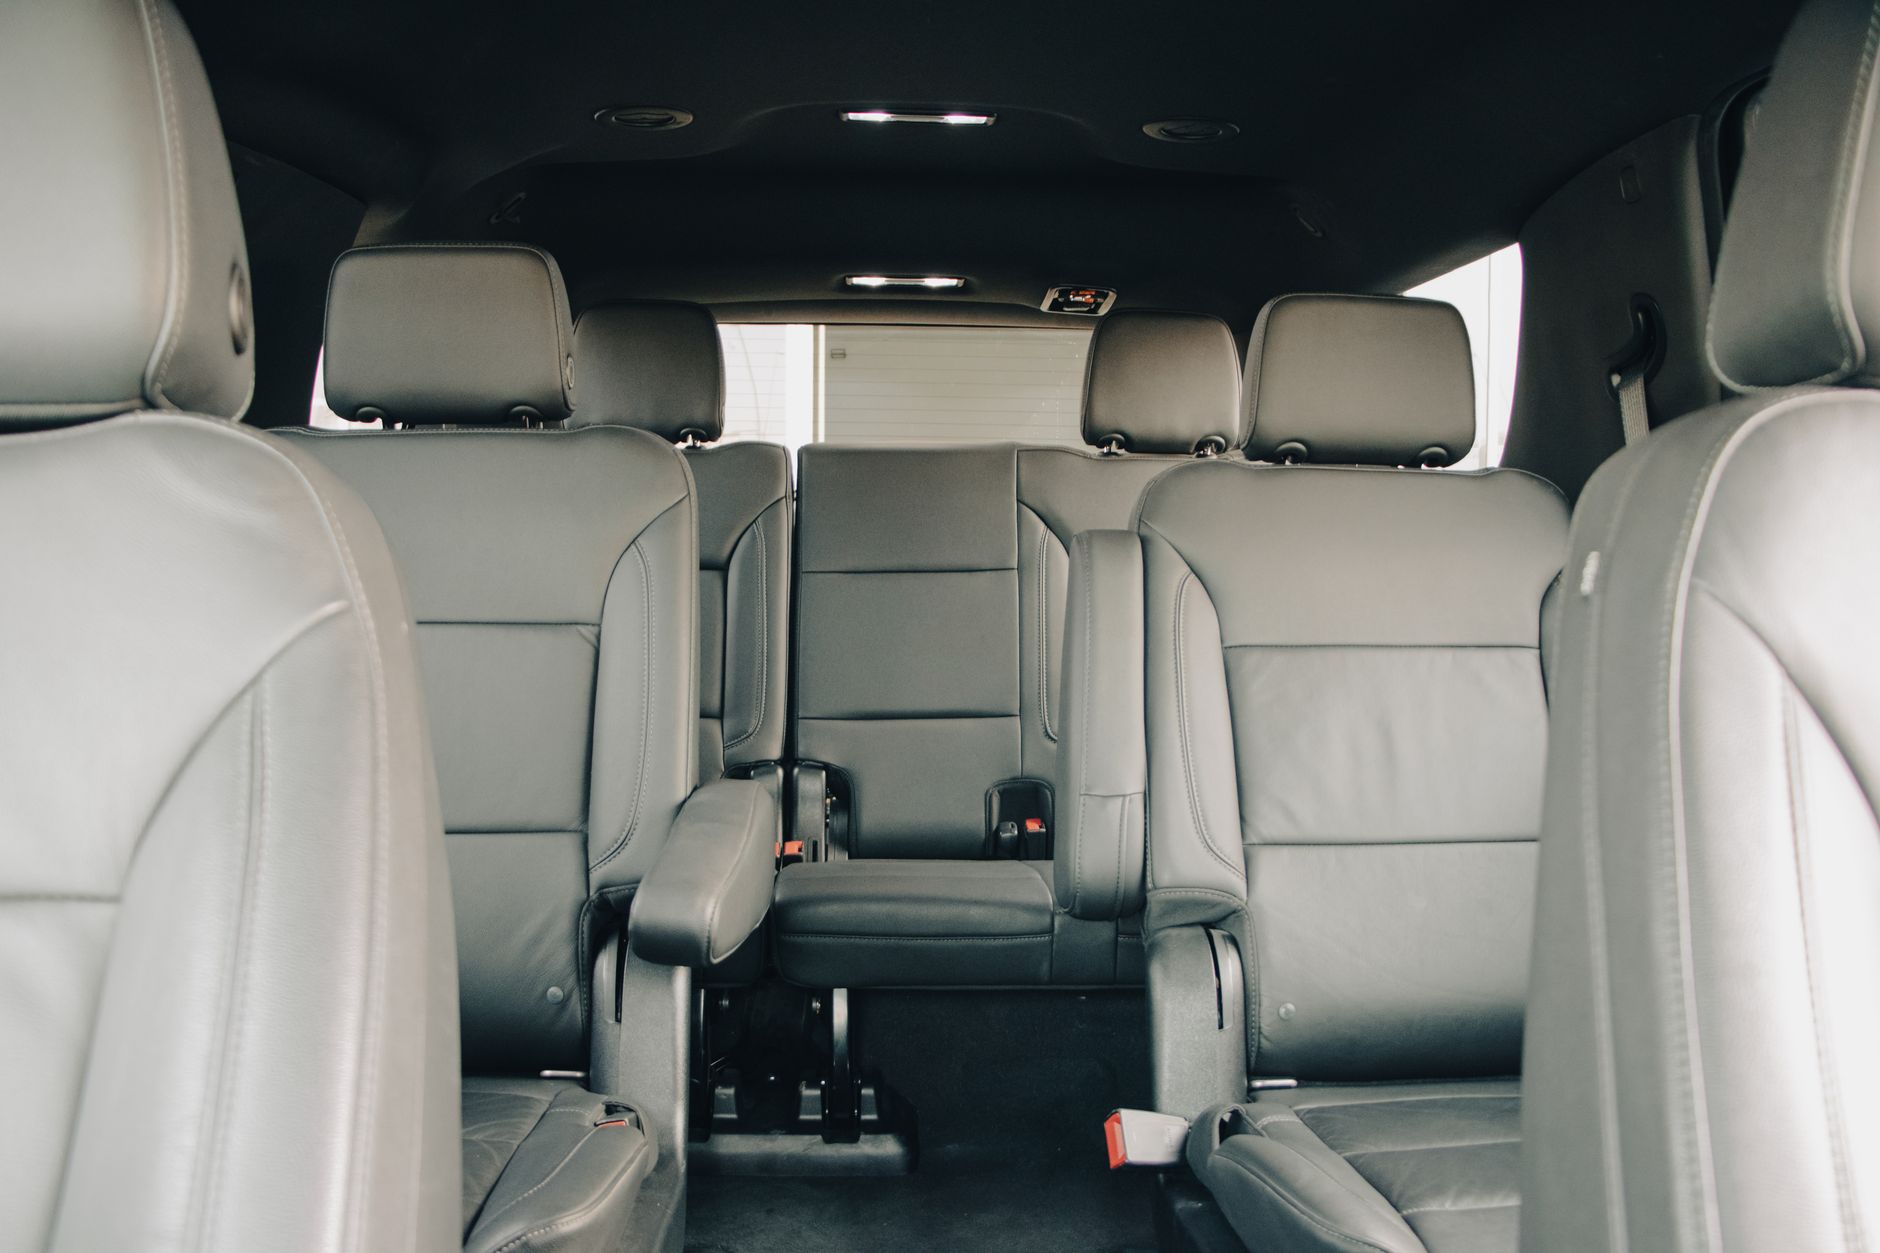
Minivans offer more flexibility with three rows of seating, but the extra rows introduce new challenges: different belt lengths, varied anchor points, and the need to protect a second‑row child while the car seat sits in the third row.
Choosing the right row
Most safety experts recommend installing an infant’s rear‑facing seat in the second row, away from the front airbags. If you must use the third row (e.g., due to sibling seats), verify that the vehicle’s third‑row belt locks securely and that the seat is on a flat surface.
Installation steps for the second row
- Slide the car seat all the way back against the second‑row head‑rest.
- Thread the seat belt through the rear‑facing path, making sure the belt lies flat.
- Engage the belt’s locking mode (two clicks). In many minivans, the belt will lock after a short “pull‑and‑hold” motion.
- If the belt feels loose, use a tensioner or lock‑off to achieve firm tension.
- Perform the tight‑rope test and verify the 45‑degree angle.
- Attach the top tether to the second‑row anchor point (often a small loop near the rear‑center of the seat).
Installation steps for the third row
- Repeat the same steps, but note that the third‑row belts are often longer, requiring more pulling.
- Check that the third‑row seat is level; some minivans have a slight incline that can affect the angle.
- Consider a seat‑belt tensioner as a must‑have in the third row due to the extra belt slack.
Troubleshooting car seat belt installation problems
- Problem: Belt won’t lock after two clicks.
Solution: Use a tensioner or try the pull‑and‑hold method. If still unresolved, consult the vehicle’s owner manual.
- Problem: Seat tilts forward.
Solution: Re‑thread the belt, tighten further, or add a thin, approved wedge under the base (only temporarily).
- Problem: Top tether can’t reach.
Solution: Verify you’re using the correct anchor point; some minivans have multiple tether locations.
Difference between LATCH and seat belt installation for car seats
The LATCH (Lower Anchors and Tethers for Children) system was introduced in 2002 to simplify car‑seat installation. While LATCH can be convenient, many parents still prefer the seat‑belt method because it works in every vehicle, including older models and those without LATCH anchors.
Both methods meet federal safety standards, but the seat‑belt approach offers more flexibility for larger families, especially when installing convertible seats across multiple rows.
One practical tip: if you ever switch between LATCH and belt on the same vehicle, always reset the car‑seat’s base to the manufacturer‑recommended “zero‑tension” position before starting the new method. This avoids hidden tension that can affect the lock‑off.
Car seat installation with seat belt in an SUV
SUVs provide a higher seating position, which can make the belt path longer and the angle steeper. The elevated seat height often means the vehicle’s “high‑anchor” slot is the best choice for a tight fit.
Key steps for an SUV
- Place the car seat against the back‑rest, using the vehicle’s built‑in head‑rest to achieve the 45‑degree angle.
- Thread the belt through the rear‑facing path, then route it through the SUV’s high‑anchor slot (usually located near the top of the seat frame).
- Engage the lock‑off or two‑click method. Because the belt is longer, a tensioner is often essential.
- Pull the seat down firmly while tightening the belt; the tight‑rope test should show less than 1 inch side‑to‑side movement.
- Secure any top tether to the vehicle’s rear‑center anchor point, which in many SUVs is located just below the head‑rest.
Because SUVs have a higher center of gravity, a correctly angled rear‑facing seat also helps keep the infant’s head from sliding forward during rapid deceleration. Double‑check the angle with a level if the built‑in indicator seems ambiguous.
Myth vs. fact
Myth: “If the seat belt clicks once, the car seat is secure.”
Fact: A single click means the belt is still in “free‑float” mode. You need two clicks (or the 2026 click‑indicator green zone) for a firm, locked anchor.
Myth: “LATCH is always safer than a seat belt.”
Fact: Both systems are tested to the same crash standards. Safety depends on correct installation, not the anchoring method.
Myth: “A tighter belt is always better.”
Fact: Over‑tightening can damage the vehicle’s frame or the car‑seat’s metal shell. Follow the tight‑rope test: no more than 1 inch of side‑to‑side movement.
Key takeaways
- Use a seat‑belt tensioner or lock‑off to achieve firm tension; two audible clicks (or a green‑zone indicator) confirm a locked belt.
- Rear‑facing seats need a 45‑degree angle; verify with the built‑in indicator or a small level.
- Perform the tight‑rope test after each trip—any side‑to‑side movement >1 inch means re‑tighten.
- For sedans, SUVs, and minivans, follow vehicle‑specific belt routing and anchor points; the method works in all three.
- Download the car seat installation checklist PDF and keep it handy in your vehicle.
- If you encounter persistent issues, a certified child‑passenger‑safety technician can provide hands‑on assistance.
Frequently asked questions
Can I install a car seat with a seat belt instead of LATCH?
Yes. Seat‑belt installation is allowed in every vehicle that has a three‑point belt, and it often offers a higher weight limit for infant seats. Just follow the two‑click (or click‑indicator) rule and verify tightness with the tight‑rope test.
How tight should the seat belt be when installing a car seat?
The belt should be tight enough that the car seat does not move more than 1 inch side‑to‑side when you pull at the belt path. If you can feel slack or hear a single click, re‑tighten or use a tensioner.
Do I need a seat belt tensioner for a car seat?
A tensioner is not mandatory, but it’s highly recommended if your vehicle’s belt does not lock firmly after two clicks or if you’re installing in a third‑row seat where the belt is longer. The tensioner ensures you achieve the proper tension without over‑tightening.
What is the correct angle for a rear‑facing car seat?
Most infant seats require a 45‑degree recline to keep the baby’s airway open. Convertible seats often specify a 30‑40 degree angle; always follow the manufacturer’s indicator.
How can I tell if my car seat is installed correctly?
Use the tight‑rope test, confirm two audible clicks (or the green‑zone indicator), verify the angle, and check that the top tether is snug. If all these criteria are met, you’ve installed the car seat correctly.
Is it safe to install a car seat in the front passenger seat?
Generally no. Front‑seat airbags can deploy with enough force to injure a child in a car seat. Only install in the front if the vehicle lacks a back seat or the airbags can be permanently deactivated, and even then use a rear‑facing seat with the belt locked securely.
What should I do if my vehicle’s seat belt doesn’t have a locking mechanism?
Some older models use a “continuous‑pull” belt that never clicks. In those cases, a certified seat‑belt tensioner is essential. The tensioner creates a firm anchor point that mimics the two‑click lock, ensuring the seat stays immobile.
Can a universal seat‑belt lock replace a tensioner?
Universal lock‑offs are designed to work with most three‑point belts and can be a convenient alternative. They provide the same level of tension as a tensioner, but be sure the lock‑off’s indicator aligns with the manufacturer’s “green‑zone” before finalizing the install.
When to see a doctor or specialist
If after installation you notice any of the following, seek professional help immediately:
- The car seat shifts more than 1 inch side‑to‑side despite repeated tightening.
- The seat belt does not lock after two clicks, even with a tensioner.
- There is visible damage to the seat belt, tensioner, or car‑seat frame.
- Your baby shows signs of breathing difficulty that could be related to an improper recline.
- You cannot locate the vehicle’s top‑tether anchor point.
Contact a certified child‑passenger‑safety technician (CPST) for hands‑on assistance. Many local hospitals, fire departments, and police stations offer free inspections. If your baby experiences respiratory distress, consult your pediatrician or visit an urgent‑care clinic right away.
References
- National Highway Traffic Safety Administration (NHTSA). “Child Passenger Safety.” 2024.
- American Academy of Pediatrics (AAP). “Policy Statement: Car Seats for Children.” 2023.
- Consumer Product Safety Commission (CPSC). “Car Seat Installation Guidelines.” 2025.
- American Academy of Pediatrics (AAP). “Rear‑Facing Car Seats: Recommended Age and Weight.” 2022.
- National Highway Traffic Safety Administration (NHTSA). “Seat‑Belt Tensioner Use in Child‑Passenger Safety.” 2026.
- Harvard T.H. Chan School of Public Health. “Vehicle Safety Features and Child Injury Prevention.” 2024.
- International Car Seat Safety Association. “LATCH vs. Seat‑Belt Installation: Comparative Study.” 2025.
- American Association of Pediatrics (AAP). “Side‑Impact Protection for Convertible Car Seats.” 2023.