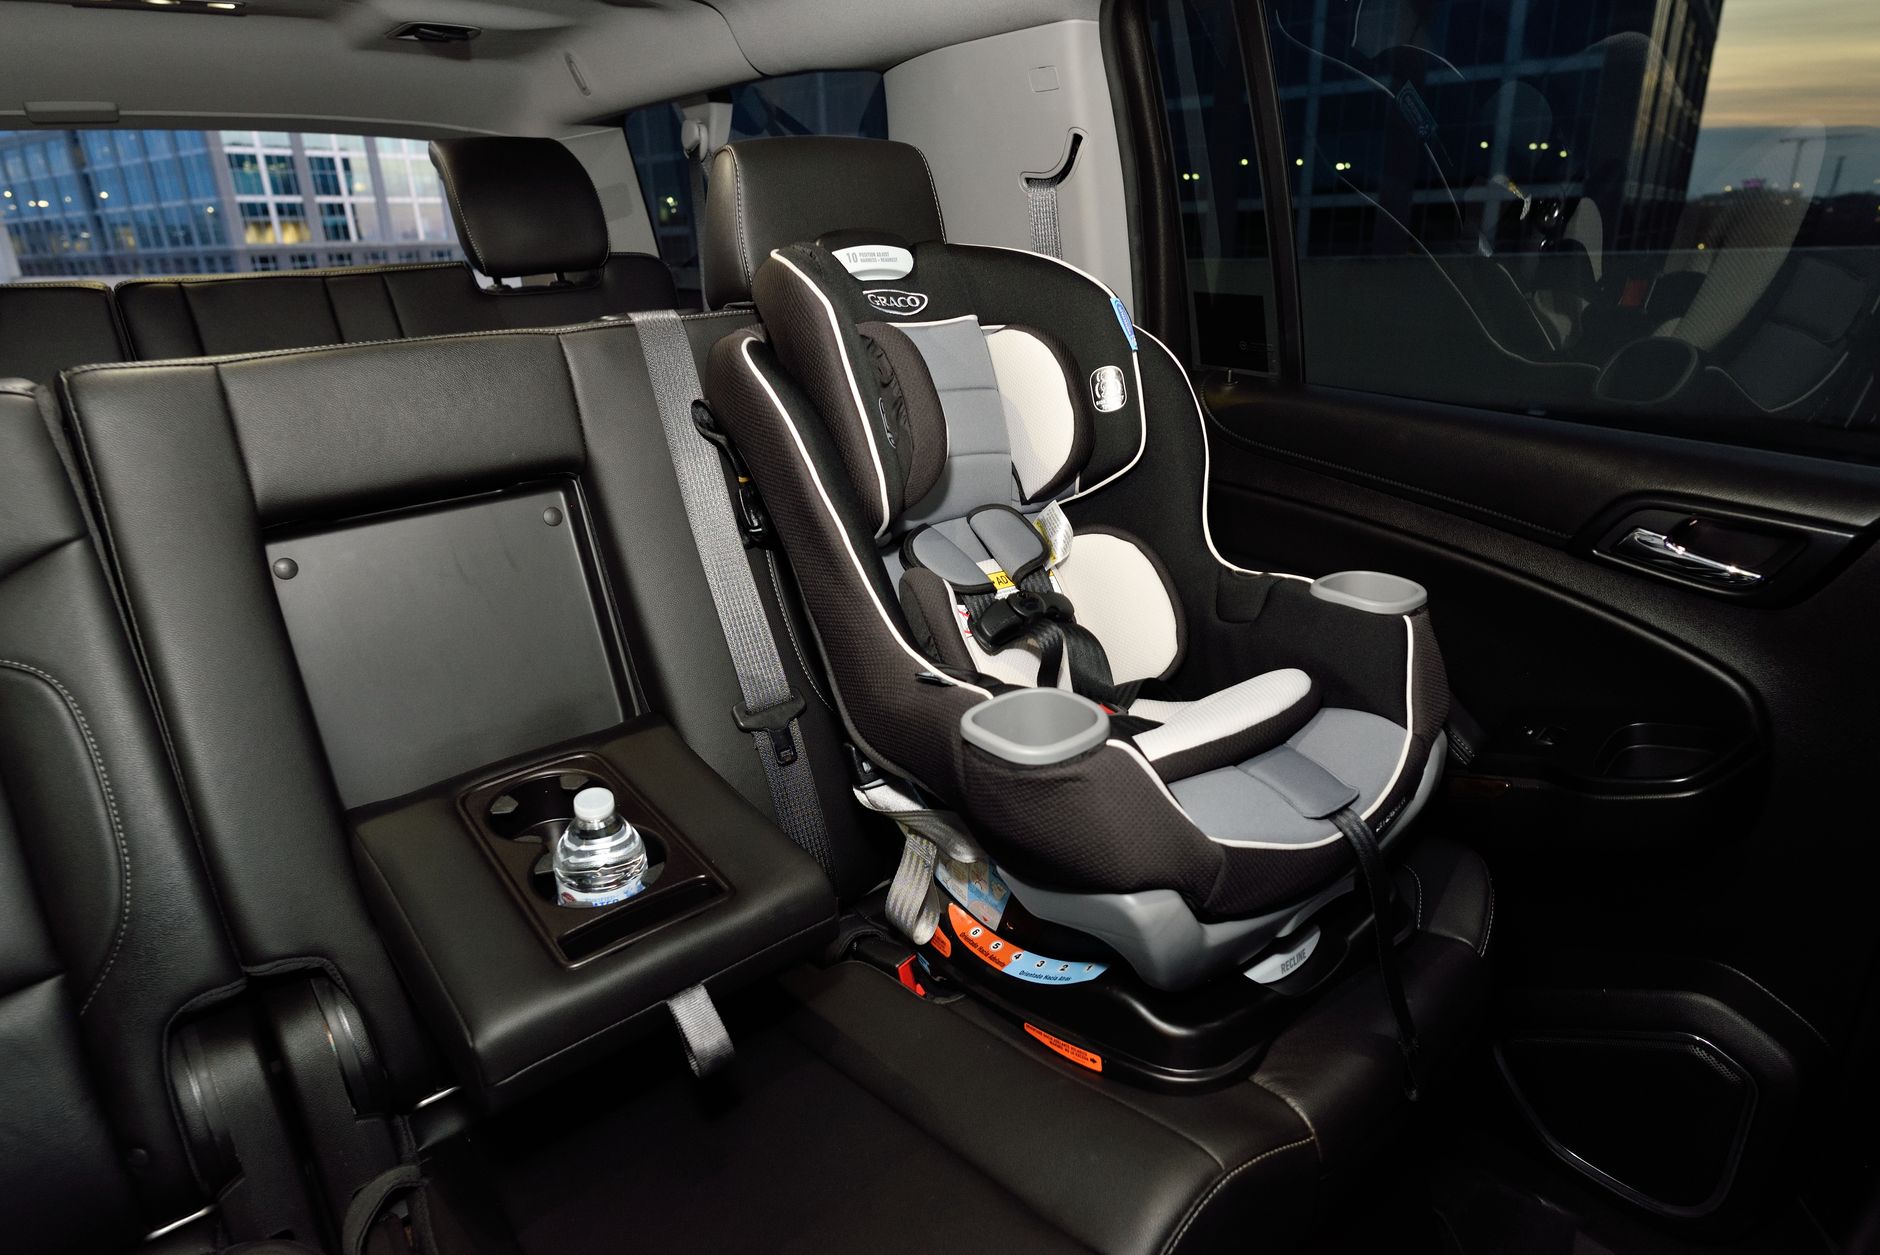
Newborns are tiny, delicate, and often need the most secure positioning. A rear‑facing infant seat installed with LATCH offers the best protection for a child under 35 lb.
- Infant car seat with LATCH connectors.
- Vehicle owner’s manual (to locate anchors).
- Flat‑head screwdriver (optional, for tightening bolts on older cars).
- Measuring tape (to confirm height limits).
Installation checklist
- Read the manuals. Both the car seat and vehicle manuals contain model‑specific instructions. Skipping this step is a common cause of installation errors.
- Place the seat rear‑facing. Angle the seat so the infant’s head points toward the back of the car. This is the safest direction for a newborn.
- Connect the lower anchors. Align the metal LATCH connectors with the vehicle’s lower anchors. Push until you hear a click.
- Secure the top tether. Pull the top‑tether strap through the seat’s tether ring and lock it.
- Tighten the straps. Pull each strap until the seat is snug. The “one‑finger” test: you should be able to slide a single finger between the seat and the vehicle cushion.
- Check the angle. Most infant seats have a built‑in level indicator. Ensure the seat is within the recommended recline range (often 45‑55°).
- Final shake test. Grasp the seat at the base and give it a firm shake. It should not move more than an inch in any direction.
Why rear‑facing matters for newborns
In a crash, a rear‑facing seat distributes forces across the child’s entire back, reducing head and neck strain. The American Academy of Pediatrics (AAP) emphasizes that infants stay rear‑facing until at least 2 years of age—or until they exceed the seat’s height or weight limits.
Following this guide will give you the confidence that the car seat is installed with LATCH correctly for your newborn, no matter the make of your vehicle. If you ever feel unsure, many hospitals and fire stations run free “Car Seat Check” clinics that can verify your work on the spot.
Troubleshooting a LATCH latch that won’t lock the car seat properly
Even when you follow the steps, the latch mechanism can sometimes fail to engage. Below are the most common reasons and how to fix them.
Common causes
- Misaligned connectors. If the metal connector isn’t fully seated, the latch won’t click.
- Obstructed anchors. Dirt, debris, or a leftover strap from a previous seat can block the anchor.
- Worn-out latch. Over time, the internal spring can lose strength, especially in high‑usage vehicles.
- Incorrect strap tension. Over‑tightening can cause the latch to jam; under‑tightening prevents a secure lock.
Step‑by‑step fixes
- Inspect the anchor. Look inside the anchor loop. Use a flashlight to check for any foreign objects. Remove debris with a soft brush.
- Re‑align the connector. Pull the seat away from the anchor, then re‑insert the connector at a slight upward angle. You should feel a firm click.
- Test the latch mechanism. With the seat removed, press the latch button a few times to feel its resistance. If it feels loose, the latch may need replacement—consult your vehicle dealer.
- Adjust strap tension. Loosen the straps slightly, then re‑tighten using a “wiggle‑and‑pull” motion. This helps the latch settle into its proper position.
- Seek professional help. If the latch still won’t lock, visit a certified child‑seat inspection station. Many fire stations and hospitals offer free checks.
When to replace the LATCH system
If the latch button feels “spongy” or fails to click after cleaning, it’s likely worn out. The National Highway Traffic Safety Administration (NHTSA) recommends replacing a faulty LATCH system within six months of detection, as it can compromise safety. Replacing a latch usually involves a simple part swap at a dealership, and many manufacturers provide the part free of charge if the vehicle is still under warranty.
What’s the difference between LATCH and seat‑belt installation for infant car seats?
Both methods can secure a car seat, but they differ in ease, flexibility, and safety nuances. Below is a side‑by‑side comparison.
Studies from the Consumer Product Safety Commission (CPSC) show no statistically significant difference in crash protection when each method is installed correctly. However, the LATCH system reduces the chance of user error for many parents because it eliminates the need to thread the belt.
When choosing a method, consider your vehicle’s anchor availability, the seat’s design, and your comfort level. Many families start with LATCH for newborns and switch to the seat‑belt as the child grows and the seat’s weight limit exceeds LATCH capacity.
Best practices for checking LATCH tension after installation
Correct tension is the linchpin of a safe LATCH installation. Too loose, and the seat can shift; too tight, and the latch may break or the seat’s frame could warp.
The “one‑finger” rule
After tightening, slide the tip of your index finger between the car seat base and the vehicle cushion. If you can move the finger easily, the straps are too loose. If you can’t fit a finger at all, the straps are over‑tightened. The ideal tension allows a finger’s width of movement.
Some manufacturers sell a small tension gauge that clicks when the proper force (usually 30–35 lb of pull) is reached. While optional, it provides an objective check and can be reassuring for nervous parents.
Re‑check after each trip
Vibrations from driving can loosen straps over time. Make it a habit to give the seat a quick “wiggle‑test” after every long drive—especially after picking up a child from daycare or after a road‑trip.
Temperature considerations
Extreme cold can make plastic components more brittle, while heat can cause straps to stretch. If you live in a climate with large temperature swings, inspect the LATCH system weekly for signs of wear.
Finally, remember that a well‑maintained LATCH system is only one part of overall safety. Pair it with proper seat positioning, an age‑appropriate harness, and regular checks for recalls on both the car seat and your vehicle’s anchoring points.
How many LATCH points are needed for a convertible car seat, and what are the limits?
Convertible seats can be installed rear‑facing or forward‑facing, and they often use both lower anchors and the top tether. Understanding how many points you need—and when—to stay within safe limits is crucial.
Typical LATCH configuration for convertibles
- Rear‑facing mode: Uses two lower anchors plus the top tether.
- Forward‑facing mode: May use two lower anchors (or a single lower anchor plus the top tether, depending on the seat’s design).
Weight and height limits
For 2026 model vehicles, the FMVSS 213 standard caps LATCH usage at 30 lb (13.6 kg) for infant seats and 40 lb (18.1 kg) for convertible seats. Height limits usually range from 32 in to 49 in, depending on the seat’s manufacturer. Always cross‑reference the car seat’s manual with your vehicle’s LATCH specifications.
When you need more than two LATCH points
If your convertible seat requires three points (two lower anchors plus a top tether), make sure your vehicle provides both lower anchors and a top tether in the selected row. Some older cars only have two lower anchors and no tether, limiting you to a seat‑belt installation for forward‑facing use.
Example table of common convertible seat limits
Remember, the LATCH limit is the *lower* of the vehicle’s and the seat’s specifications. If either says 30 lb, you cannot exceed that even if the other permits a higher weight. This “lowest‑limit rule” protects both the anchor points and the car seat’s frame.
Installing a car seat with LATCH in a rear‑facing position (including toddlers)
While newborns are the most common rear‑facing passengers, many parents keep toddlers rear‑facing for extra protection. The steps are similar, but there are a few nuances.
Check the seat’s rear‑facing height limit
Most convertible seats allow rear‑facing up to 40 in (101 cm). Use a measuring tape to ensure the child’s head is at least one inch below the top of the seat back. If the child exceeds this, transition to forward‑facing.
Adjust the recline angle
Toddler seats often have a built‑in recline indicator. For larger rear‑facing seats, you may need a “recline support” (a rolled towel) to achieve the correct angle. Place the support between the vehicle seat cushion and the car seat base.
Secure the top tether
Even in rear‑facing mode, the top tether adds stability. Thread it through the seat’s top‑tether ring and lock it. Some manufacturers recommend using both lower anchors and the tether for toddlers over 30 lb.
Final verification
- Perform the “one‑finger” test on each strap.
- Give the seat a firm shake; it should not move more than an inch.
- Check the child’s head clearance—there should be at least an inch of space between the top of the child’s head and the seat’s headrest.
By following these steps, you’ll have installed the car seat with LATCH correctly for a rear‑facing toddler, ensuring the highest level of crash protection available for children under 2 years old. If your child is close to the height limit, consider adding a small pillow or commercial recline support to maintain the proper angle without compromising safety.
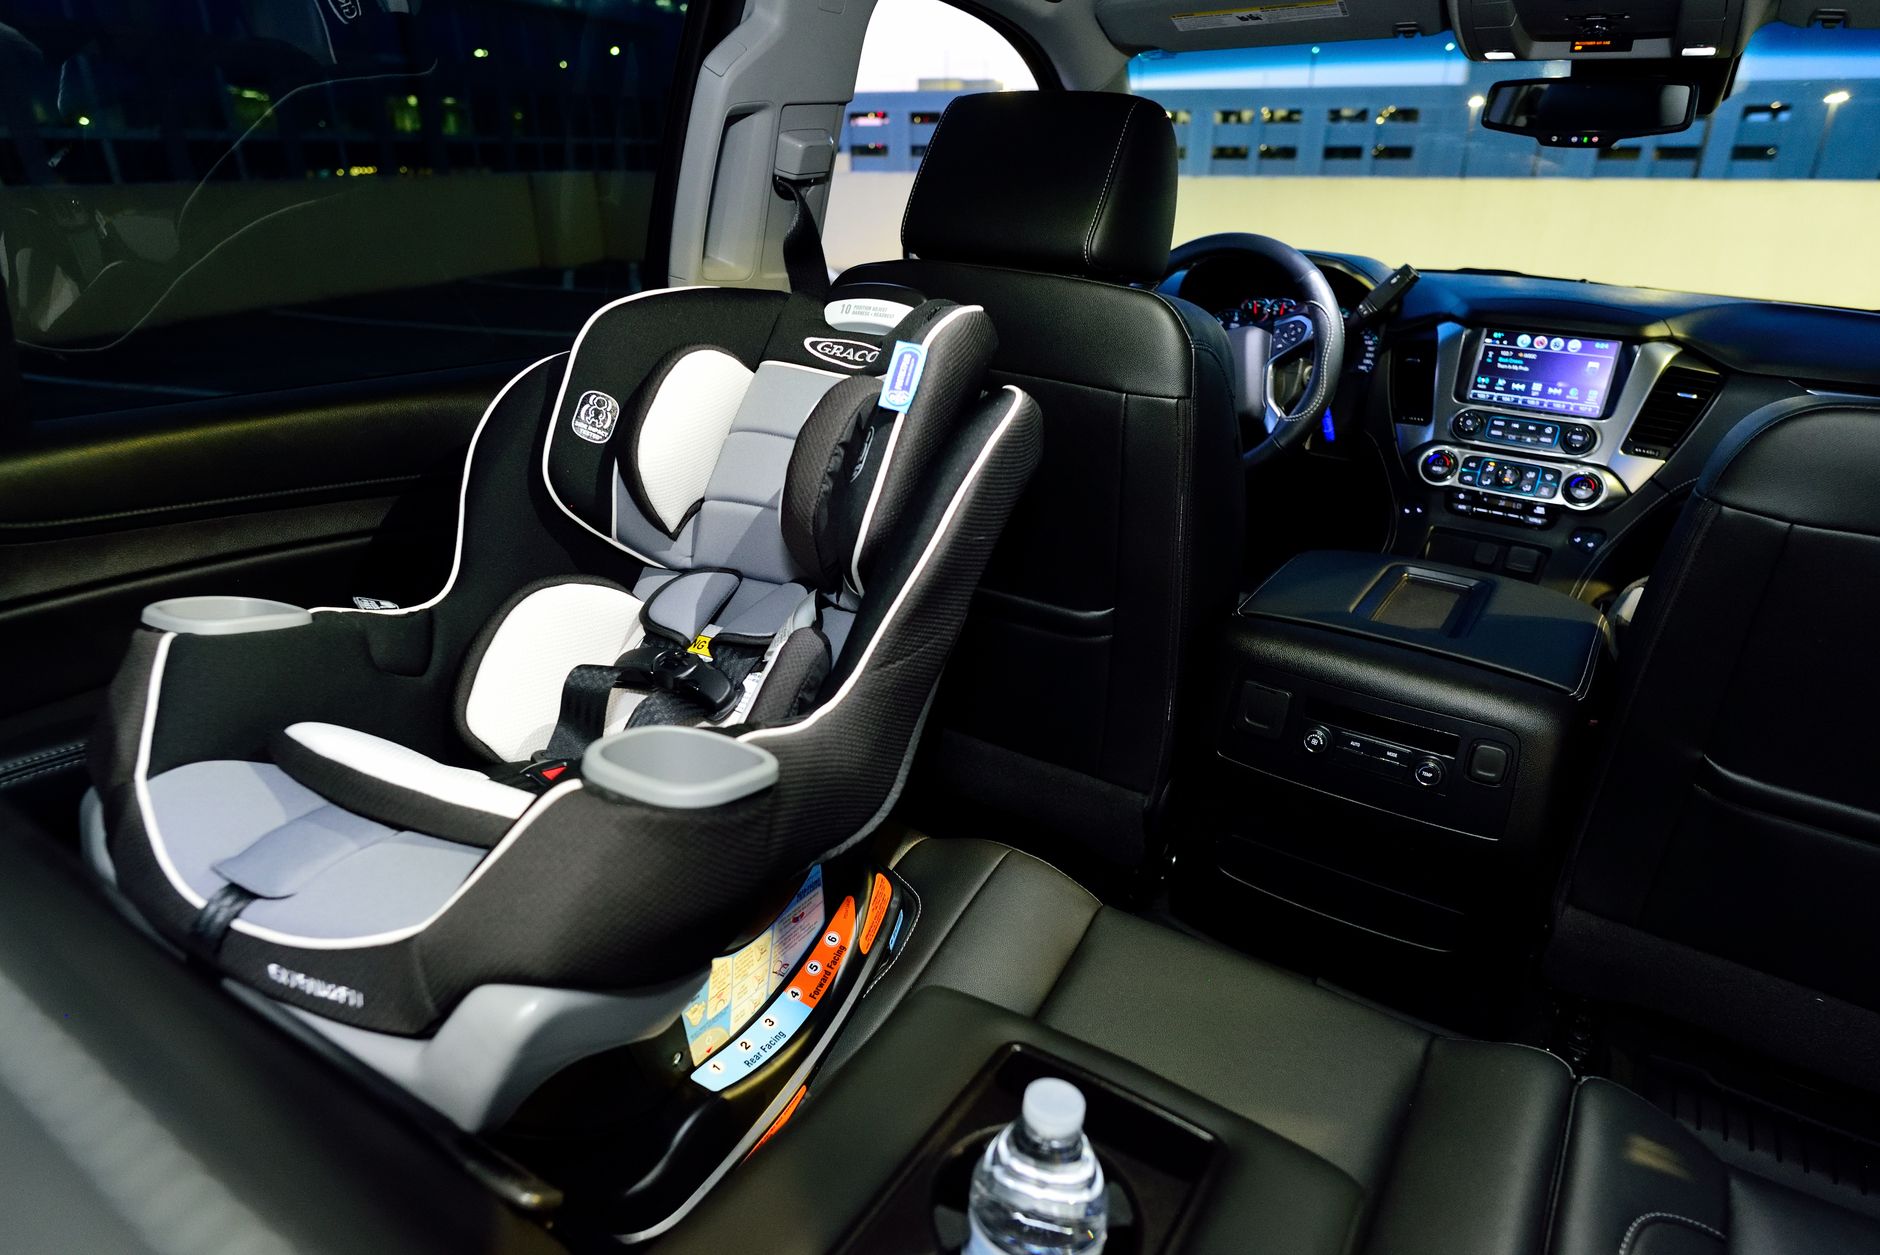
LATCH installation limits for weight and height in 2026 vehicle models
Vehicle manufacturers update LATCH specifications periodically, often aligning with the latest FMVSS 213 revisions. Here’s what you need to know for 2026‑model cars.
Maximum weight for LATCH car seat installation
Across most 2026 vehicles, the LATCH system is rated for a maximum of 30 lb (13.6 kg) for infant seats and 40 lb (18.1 kg) for convertible seats. This cap applies *per anchor point*; if a seat uses two lower anchors, the combined limit is still 30 lb or 40 lb, not double.
Height restrictions
Height limits are dictated by the car seat, not the vehicle. However, the vehicle’s seat cushion depth can affect the ability to achieve the proper recline angle for taller infants. If the vehicle seat is very shallow, you may need a cushion or rolled towel to reach the required angle.
Can you exceed LATCH limits with a booster?
No. The LATCH system’s weight limit applies regardless of seat type. Booster seats often exceed the LATCH weight caps, so they must be installed using the vehicle’s seat belt.
2026 model trends
- Many manufacturers introduced “enhanced LATCH” brackets that can accommodate up to 35 lb for convertible seats, but only if the vehicle’s owner manual specifically lists the higher limit.
- Some 2026 SUVs now feature a third lower anchor in the third row, allowing two car seats to be installed rear‑facing using LATCH. Verify the manual before relying on the third‑row anchors.
Always cross‑check the car seat’s manual with your vehicle’s specification sheet. If there’s any disagreement, follow the lower of the two limits. This conservative approach protects the anchor hardware and ensures compliance with Federal Motor Vehicle Safety Standard 213.
Additional long‑tail topic: LATCH installation for booster seats and older children
Once a child outgrows the rear‑facing or convertible seat, many parents transition to a booster seat. While boosters are typically belt‑installed, some newer models offer LATCH compatibility for added stability.
When LATCH can be used with boosters
- The booster’s manual explicitly states “LATCH approved for children up to 40 lb.”
- Your vehicle’s LATCH anchors are still within the weight limit after accounting for the child’s weight.
- The seat’s lower anchor points are positioned low enough to align with the vehicle’s anchors (often indicated by a diagram in the booster’s instructions).
Installation steps
- Place the booster on the vehicle seat, facing forward.
- Connect the lower LATCH connectors to the vehicle anchors, then click them in.
- Adjust the strap tension using the “one‑finger” rule—there should be a slight give, not a tight squeeze.
- If the booster also offers a top tether, thread it through the vehicle’s tether point and lock it.
- Finally, thread the seat belt through the booster’s belt path, buckle, and pull the belt snugly.
Even when LATCH is permitted, the seat belt remains the primary restraint for boosters. The LATCH connection simply reduces movement and can be especially helpful in larger vehicles where the belt path is longer.
Additional long‑tail topic: Maintaining and cleaning your vehicle’s LATCH anchors
Just like a car seat, the vehicle’s LATCH hardware needs regular care to stay reliable. Dirt, oil, and rust can degrade the anchor’s ability to lock securely.
Routine cleaning
- Every 3–6 months, wipe the anchor loops with a damp cloth and mild soap. Avoid abrasive cleaners that could scratch the metal.
- For stubborn grime, use a soft toothbrush to reach into the loop’s interior.
- Dry the anchors thoroughly before the next installation to prevent corrosion.
Inspect for wear
Look for signs of rust, bent metal, or cracked plastic clips. The FDA’s Consumer Product Safety Commission recommends replacing any damaged anchor within a month of discovery, as compromised anchors can fail during a crash.
Professional servicing
If you notice a loose anchor or a latch that no longer clicks, schedule a service appointment with your dealership. Many warranties cover LATCH hardware repairs, especially on newer models still under the original warranty period.
Keeping the LATCH system clean not only prolongs its lifespan but also gives you peace of mind every time you buckle your child in.
Myth vs. fact
Myth: “If the latch clicks, the car seat is safe.”
Fact: A click indicates the connector is seated, but you still need to tighten the straps and verify tension. Without proper tension, the seat can shift in a crash.
Myth: “You can use LATCH for any child, even beyond the weight limit, because the anchors are strong.”
Fact: LATCH anchors are designed for specific weight thresholds. Exceeding them can cause anchor failure and void the car seat’s warranty.
Myth: “Seat‑belt installation is always safer than LATCH.”
Fact: When installed correctly, both methods meet the same safety standards. The key is proper installation, not the method itself.
Key takeaways
- Locate the lower anchors and top tether, then click the LATCH connectors into place.
- Use the “one‑finger” rule to achieve correct strap tension—tight enough to prevent movement, but not so tight that the latch is strained.
- Never exceed the vehicle’s LATCH weight limit (30 lb for infant seats, 40 lb for convertibles) regardless of seat brand.
- Rear‑facing is safest for newborns and toddlers; keep them rear‑facing until they outgrow the seat’s height or weight limits.
- When in doubt, have a certified child‑seat inspection professional check your installation.
- Regularly inspect the LATCH system for wear, debris, or damage, especially after long trips or extreme temperature changes.
- Booster seats can sometimes use LATCH, but the seat belt remains the primary restraint; follow the booster’s manual closely.
- Clean and maintain vehicle anchors every few months to ensure a reliable lock.
Frequently asked questions
Can I install a car seat using LATCH if my car is older than 2002?
Vehicles built before September 2002 are not required to have LATCH anchors. If your car lacks them, you must use the seat‑belt method. Some aftermarket LATCH kits exist, but they are not approved by NHTSA and are generally discouraged.
How do I know if the LATCH strap is too tight?
If you cannot slide the tip of a finger between the car seat base and the vehicle cushion, the strap is over‑tightened. Over‑tightening can stress the anchor and reduce the seat’s ability to absorb crash forces.
What is the difference between lower anchor and upper anchor in LATCH?
Lower anchors (also called lower LATCH) are located at the base of the seat cushion and support the seat’s weight. Upper anchors (top tether) attach to the vehicle’s roof rail or seat back and prevent forward movement in a crash, especially for forward‑facing seats.
Is it safe to use LATCH for a child over 30 pounds?
Only if the car seat’s manual specifically lists a higher LATCH weight limit (often up to 40 lb for convertible seats). For infant seats, the limit remains 30 lb. Exceeding the limit can compromise safety.
How many LATCH points does my vehicle have?
Most passenger cars have two lower anchors in each rear seat and one top tether per seat. Larger vehicles, like SUVs, may have additional anchors in the third row. Check your owner’s manual for the exact count.
Can I install two car seats using LATCH in the same vehicle?
Yes, if your vehicle provides enough lower anchors and top tethers. Many newer models have two sets of lower anchors per rear seat, allowing two infant seats to be installed rear‑facing. Verify that each seat’s weight stays within the combined LATCH limits.
Do I need to maintain the car’s LATCH system?
Periodically inspect the anchors for rust, debris, or broken clips. Clean them with a mild soap and a soft brush. If you notice any damage, have the vehicle serviced before using the system again.
What if my child has a medical condition that affects movement—does that change LATCH installation?
Children with conditions such as cerebral palsy or muscular dystrophy may need additional support to stay securely in the seat. The American Academy of Pediatrics advises consulting a pediatrician or a child‑seat specialist to ensure the harness is snug and that any adaptive positioning devices are compatible with LATCH. In some cases, a custom‑fit harness or a specialized car seat may be recommended.
Are there any differences between US LATCH and European ISOFIX systems?
Both systems serve the same purpose—providing a secure, anchor‑based installation—but they use different hardware. ISOFIX uses rigid metal bars that click into vehicle-specific anchor points, while LATCH uses flexible straps and connectors. If you travel internationally, check whether your car seat is dual‑approved; many newer seats carry both LATCH and ISOFIX labels, allowing safe installation in both regions.
When to see a doctor or specialist
If your child experiences any of the following after a crash or a hard stop, seek medical attention immediately: persistent neck pain, unexplained bruising, changes in behavior, or signs of concussion (headache, dizziness, vomiting). While car seat installation is a safety measure, it does not replace the need for a professional evaluation after an impact. If you’re unsure whether your installation meets safety standards, schedule an appointment with a certified child‑seat inspector—often available through local fire departments, hospitals, or the National Highway Traffic Safety Administration’s (NHTSA) “Car Seat Check” program.
This article is for informational purposes only and does not replace personalized medical or professional advice.
References
- National Highway Traffic Safety Administration (NHTSA). “LATCH (Lower Anchors and Tethers for Children) Overview.” 2024.
- American Academy of Pediatrics (AAP). “Policy Statement: Car Seats: Safe Transportation for Children.” 2023.
- Consumer Product Safety Commission (CPSC). “Child Passenger Safety: Crash Test Data.” 2022.
- Britax Safety Products. “Marathon Convertible Car Seat Owner’s Manual.” 2025.
- Chicco. “NextFit Convertible Car Seat Installation Guide.” 2025.
- Graco. “4Ever Convertible Car Seat Manual.” 2025.
- Honda Motor Co. “2025 CR‑V Owner’s Manual – LATCH System.” 2025.
- National Institute of Standards and Technology (NIST). “FMVSS 213: Child Restraint Systems.” 2023.
- American Association of Poison Control Centers (AAPCC). “Safety Tips for Car Seat Installation.” 2024.
- American Academy of Pediatrics. “Guidelines for Children with Special Health Care Needs and Car Seat Use.” 2023.
- European Safety Standards Agency. “ISOFIX vs. LATCH: Compatibility Guide.” 2024.