Quick take: The kitchen is the most hazardous room in the house for curious crawlers and wobbly walkers. You can baby-proof it safely in a weekend—start with cabinet locks, stove-knob covers, and a sturdy baby gate at the doorway. We’ll walk you through every corner, from the refrigerator to the floor mats, with step-by-step instructions, product picks for 2026, and a printable checklist so nothing gets missed.
You’re standing at the sink, scrubbing sweet-potato puree off the high chair, when you hear the unmistakable clatter of a metal mixing bowl hitting the tile. You turn just in time to see your 11-month-old grinning, one chubby hand still wrapped around the drawer pull that just yielded its treasure. Your heart does a little flip—not from the noise, but from the realization that the same drawer holds the sharpest knives in the house.
That’s the moment most parents start baby-proofing the kitchen in earnest. It’s not just about preventing bumps and bruises; it’s about creating a space where your child can explore without life-threatening surprises. The good news? You don’t need to turn your kitchen into a padded cell. With a few strategic tweaks—some permanent, some temporary—you can make the heart of your home safe for tiny hands and big curiosity.
In this complete 2026 guide, we’ll cover every inch of the kitchen: cabinets, drawers, appliances, floors, and even the cleaning supplies under the sink. You’ll get a step-by-step installation guide for each safety product, a printable checklist to keep track, and answers to the questions parents ask most—like whether magnetic locks are safe, how to keep your baby away from the stove, and what to do if you’re renting and can’t drill holes. Let’s turn that heart-flip moment into a confident sigh of relief.
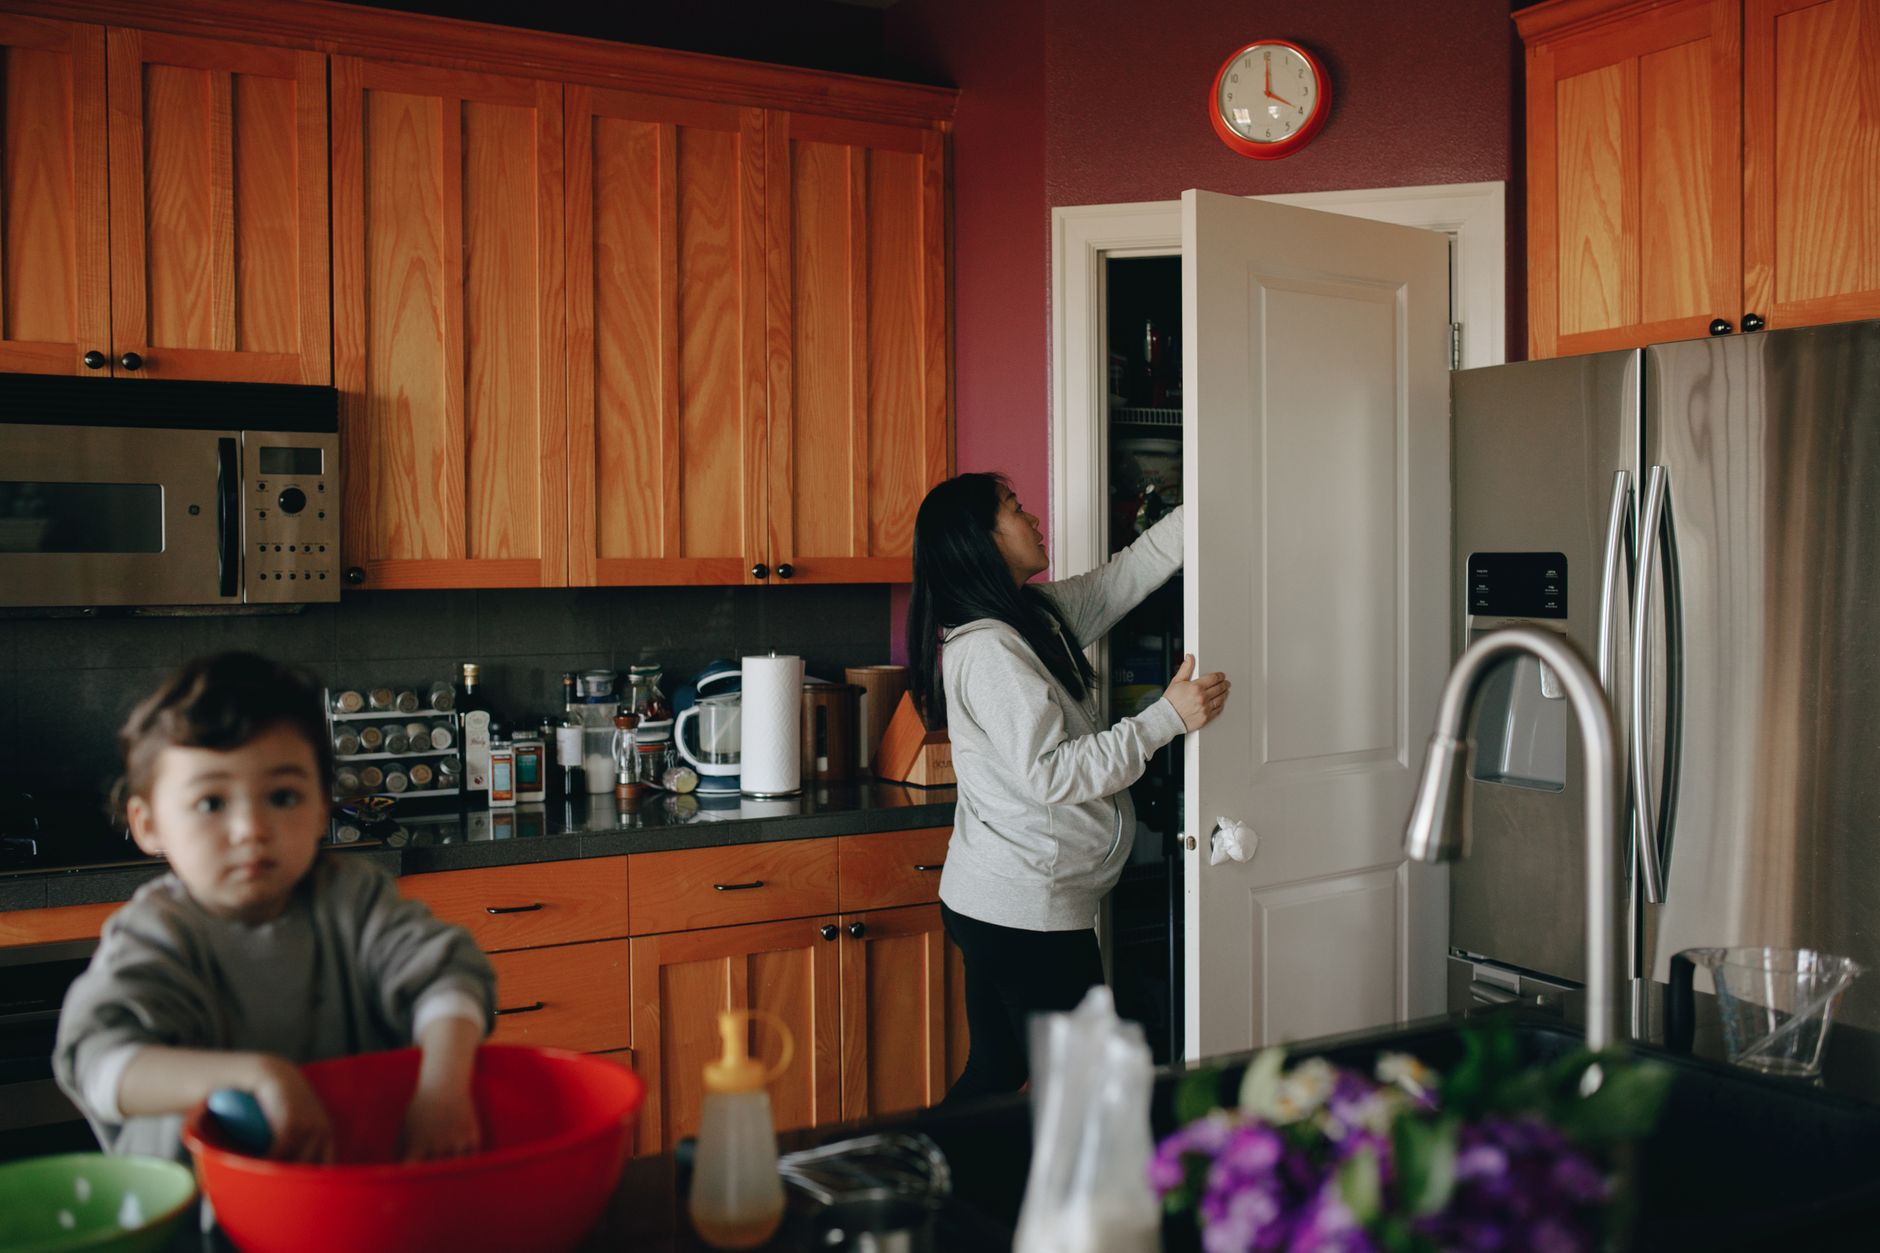
When to start baby proofing your kitchen (hint: earlier than you think)
Most parents wait until their baby is crawling—around 7 to 10 months—to start baby-proofing. But the truth is, the best time to start is before your baby is mobile. Why? Because once they’re on the move, they’re fast. One day they’re army-crawling, the next they’re pulling up on the coffee table and reaching for the stove knobs. If you wait until you see the first signs of mobility, you might already be playing catch-up.
We recommend starting your kitchen baby-proofing plan around the 4- to 6-month mark. This gives you plenty of time to research products, order what you need, and install everything before your baby hits the crawling stage. It also gives you a buffer for those early movers—some babies start scooting as early as 5 months.
One reader, Sarah, shared her experience: “I thought I had time. My daughter was 6 months old and barely rolling over. Then one afternoon, I turned my back for two seconds to grab a diaper, and she army-crawled across the kitchen and pulled open the trash can. I found her with a used coffee filter in her mouth. That was my wake-up call. I baby-proofed the entire kitchen that weekend.”
Starting early also gives you time to observe your baby’s behavior and adjust your safety measures. Every child is different—some are climbers, some are pullers, some are more interested in the dog’s bowl than the cabinets. By starting early, you can tailor your baby-proofing to your child’s specific curiosity.
How to baby proof kitchen cabinets and drawers (step-by-step guide)
Cabinets and drawers are the first places babies explore. They’re at eye level, they make satisfying noises when opened and closed, and they often contain fascinating (and dangerous) items. Here’s how to secure them safely and effectively.
Step 1: Empty and assess
Start by emptying each cabinet and drawer. This gives you a chance to declutter—do you really need three sets of measuring cups?—and to assess what’s inside. Group items into three categories:
- Safe for baby: Plastic containers, wooden spoons, silicone spatulas, unbreakable mixing bowls.
- Potentially dangerous: Glass jars, sharp knives, heavy pots, small appliances with cords.
- Hazardous: Cleaning supplies, medications, alcohol, sharp objects, anything with small parts.
Step 2: Choose your locks
There are several types of cabinet and drawer locks available. Here’s a breakdown of the most popular options in 2026, along with their pros and cons:
Step 3: Install your locks
Here’s a step-by-step guide for installing the two most popular types of locks: adhesive strap locks and magnetic locks.
Adhesive strap locks
- Clean the surface: Use rubbing alcohol to clean the inside of the cabinet door and the cabinet frame where the lock will adhere. This ensures a strong bond.
- Measure and mark: Hold the lock in place and mark where the adhesive pads will go. Make sure the lock is positioned so it will prevent the cabinet from opening more than an inch or two.
- Peel and stick: Peel the backing off the adhesive pads and press the lock firmly into place. Hold for 30 seconds to ensure a strong bond.
- Test the lock: Wait at least an hour before testing the lock to give the adhesive time to set. Open and close the cabinet to make sure the lock holds.
- Repeat: Install locks on all cabinets and drawers that contain hazardous items.
Magnetic locks
- Choose your location: Decide where you want to install the lock. Most magnetic locks are installed on the inside of the cabinet door, near the top.
- Mark the holes: Hold the lock in place and use a pencil to mark the holes for the screws.
- Drill pilot holes: Use a drill to create pilot holes at the marked spots. This will make it easier to screw in the lock and prevent the wood from splitting.
- Attach the lock: Screw the lock into place using the provided screws. Make sure it’s secure and flush against the cabinet.
- Install the magnetic key: Hold the magnetic key against the outside of the cabinet where the lock is installed. The lock should release. Mark the spot where the key works best, and attach the key holder to the cabinet using the provided adhesive pad.
- Test the lock: Open and close the cabinet to make sure the lock works properly. The cabinet should only open when the magnetic key is held against the lock.
- Repeat: Install locks on all cabinets and drawers that contain hazardous items.
Step 4: Reorganize your cabinets
Now that your cabinets and drawers are secure, it’s time to reorganize. Follow these guidelines:
- Lower cabinets (baby’s reach): Fill these with safe items—plastic containers, wooden spoons, silicone spatulas, unbreakable mixing bowls. This gives your baby a safe space to explore and satisfies their curiosity.
- Upper cabinets (out of reach): Store hazardous items—cleaning supplies, medications, alcohol, sharp objects, small appliances—here. Even with locks, it’s best to keep these items as far from your baby’s reach as possible.
- Drawers: Use drawer locks on all drawers that contain potentially dangerous items. Store safe items—like dish towels, pot holders, and plastic utensils—in lower drawers that your baby can access.
Step 5: Ongoing maintenance
Baby-proofing isn’t a one-time task. It’s important to regularly check your locks and cabinets to ensure everything is still secure. Here’s a quick maintenance checklist:
- Check adhesive locks monthly to make sure they’re still sticking. If they’re starting to peel, replace them.
- Test magnetic locks monthly to make sure they’re still working properly. If the key isn’t releasing the lock, it may need to be adjusted or replaced.
- Reorganize cabinets as needed. As your baby grows, they’ll become more curious and more capable. What was safe at 6 months may not be safe at 12 months.
- Keep an eye on your baby’s behavior. If they’re starting to figure out how to open a lock, it’s time to upgrade to a more secure option.
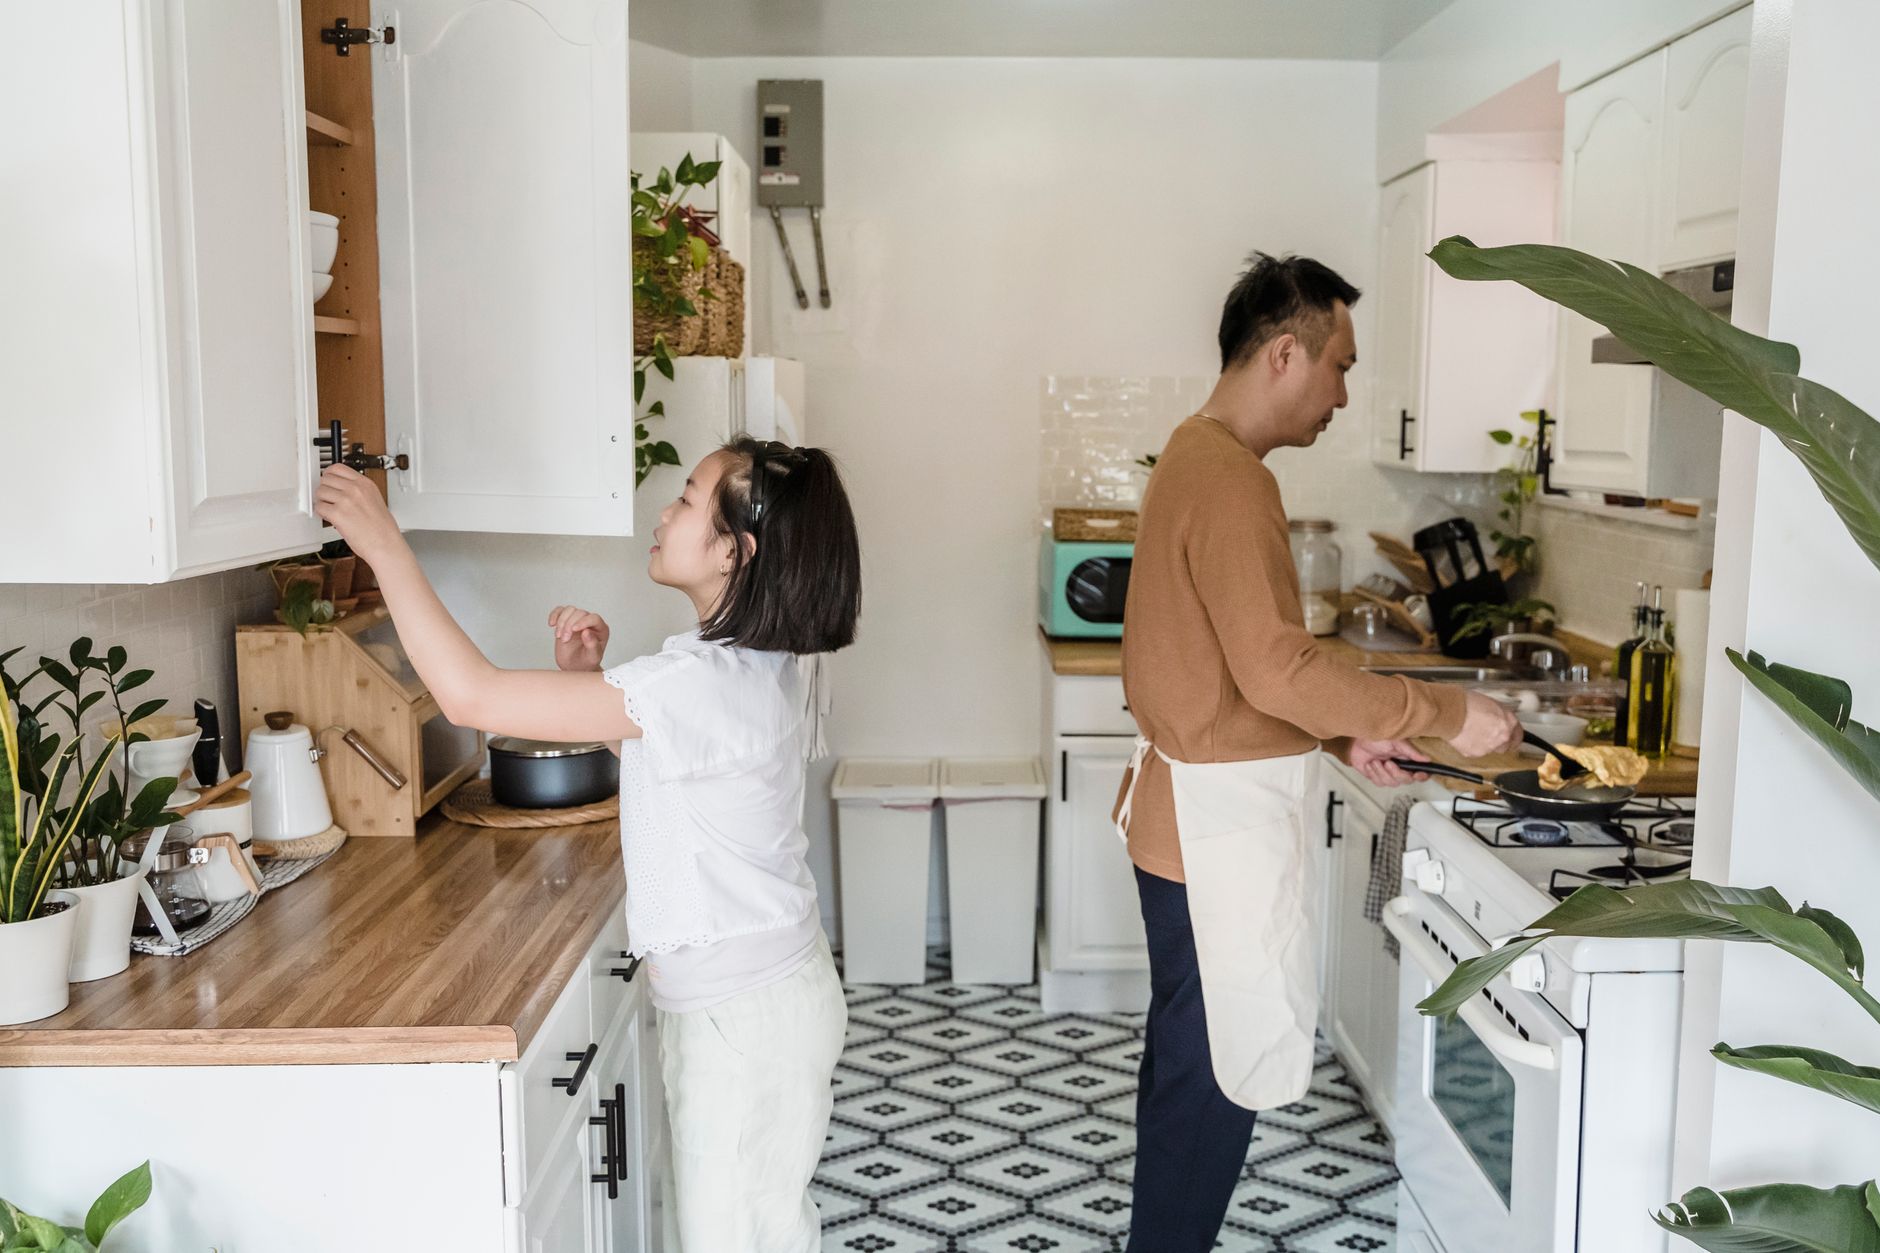
Best baby gate for kitchen doorway 2026 (top picks and installation tips)
A baby gate at the kitchen doorway is one of the most effective ways to keep your little one out of the kitchen when you can’t supervise them directly. But not all baby gates are created equal—especially when it comes to kitchen doorways, which often have unique dimensions and obstacles. Here’s what to look for in a 2026 kitchen baby gate, along with our top picks and installation tips.
What to look for in a kitchen baby gate
When choosing a baby gate for your kitchen doorway, consider the following factors:
- Width: Measure your doorway to ensure the gate will fit. Most kitchen doorways are 30 to 36 inches wide, but some can be wider or narrower. Look for a gate with an extension kit if your doorway is wider than average.
- Height: A taller gate is harder for toddlers to climb. Look for a gate that’s at least 29 inches tall.
- Mounting style: Pressure-mounted gates are easy to install and remove, but they’re not as secure as hardware-mounted gates. If your baby is a climber or particularly strong, opt for a hardware-mounted gate.
- Doorway shape: If your kitchen doorway has a threshold or an unusual shape, look for a gate that can accommodate it. Some gates come with threshold kits for uneven floors.
- Walk-through door: A gate with a walk-through door makes it easier for adults to move between rooms without having to step over the gate. Look for a door that swings both ways and has a secure latch.
- Material: Metal gates are more durable and secure than plastic or wood gates. Look for a gate with a powder-coated finish to prevent rust and chipping.
- Safety certification: Look for a gate that meets the latest safety standards from the Juvenile Products Manufacturers Association (JPMA) and the American Society for Testing and Materials (ASTM).
Top baby gates for kitchen doorways in 2026
Here are our top picks for kitchen baby gates in 2026, based on safety, ease of use, and customer reviews:
How to install a baby gate in your kitchen doorway
Installing a baby gate in your kitchen doorway is a straightforward process, but it’s important to follow the manufacturer’s instructions carefully to ensure the gate is secure. Here’s a general step-by-step guide:
Pressure-mounted gate
- Measure your doorway: Measure the width of your doorway to ensure the gate will fit. If your doorway is wider than the gate’s maximum width, you’ll need an extension kit.
- Assemble the gate: Follow the manufacturer’s instructions to assemble the gate. This usually involves attaching the side panels to the walk-through door.
- Position the gate: Place the gate in the doorway, making sure it’s level and centered.
- Adjust the pressure: Most pressure-mounted gates have adjustable feet or pressure pads. Turn the feet or pads until the gate is snug against the doorway. You should not be able to wiggle the gate once it’s installed.
- Test the gate: Open and close the walk-through door to make sure it latches securely. Push on the gate to make sure it’s stable.
- Check the fit: Make sure the gate is tall enough to prevent your baby from climbing over it. If your baby is a climber, consider a taller gate or a hardware-mounted option.
Hardware-mounted gate
- Measure your doorway: Measure the width of your doorway to ensure the gate will fit. If your doorway is wider than the gate’s maximum width, you’ll need an extension kit.
- Mark the holes: Hold the gate in place and use a pencil to mark the holes for the mounting hardware. Make sure the gate is level and centered.
- Drill pilot holes: Use a drill to create pilot holes at the marked spots. This will make it easier to screw in the mounting hardware and prevent the wood from splitting.
- Attach the mounting hardware: Screw the mounting hardware into the pilot holes. Make sure it’s secure and flush against the doorway.
- Attach the gate: Follow the manufacturer’s instructions to attach the gate to the mounting hardware. This usually involves sliding the gate into place and securing it with screws or bolts.
- Test the gate: Open and close the walk-through door to make sure it latches securely. Push on the gate to make sure it’s stable.
- Check the fit: Make sure the gate is tall enough to prevent your baby from climbing over it. If your baby is a climber, consider a taller gate.
Tips for using a baby gate in your kitchen
- Never leave your baby unattended: A baby gate is not a substitute for supervision. Always keep an eye on your baby, even when they’re in a gated area.
- Teach your baby to respect the gate: From an early age, teach your baby that the gate is a boundary. If they try to climb it, redirect them to a safe activity.
- Keep the walk-through door closed: Always close the walk-through door behind you to prevent your baby from following you through the gate.
- Check the gate regularly: Inspect the gate monthly to make sure it’s still secure and in good condition. Tighten any loose screws and replace any damaged parts.
- Consider a gate with a pet door: If you have a small pet, look for a gate with a pet door. This will allow your pet to move between rooms without compromising the gate’s safety.
Child safety locks for stove knobs: installation guide and top picks for 2026
The stove is one of the most dangerous appliances in the kitchen for babies and toddlers. Hot burners, sharp edges, and the temptation of turning knobs can lead to serious injuries. Stove knob covers are a simple and effective way to prevent your little one from turning on the burners. Here’s what you need to know about choosing and installing stove knob covers in 2026.
Why stove knob covers are essential
Stove knob covers serve several important purposes:
- Prevent burns: If your baby turns on a burner, they could burn themselves on the hot surface or a nearby pot or pan.
- Prevent gas leaks: If your stove is gas-powered, turning on a burner without lighting it could lead to a dangerous gas leak.
- Prevent fires: If your baby turns on a burner and leaves something flammable nearby—like a dish towel or a plastic container—it could start a fire.
- Peace of mind: Stove knob covers give you one less thing to worry about when your baby is in the kitchen.
Types of stove knob covers
There are two main types of stove knob covers: universal and brand-specific. Here’s a breakdown of each:
Top stove knob covers for 2026
Here are our top picks for stove knob covers in 2026, based on safety, ease of use, and customer reviews:
How to install stove knob covers (step-by-step guide)
Installing stove knob covers is a quick and easy process. Here’s a step-by-step guide:
- Choose your covers: Select the type and brand of stove knob covers that best fit your stove and your needs.
- Remove the stove knobs: Gently pull the stove knobs off the stems. If they’re stuck, use a flathead screwdriver to pry them off carefully.
- Clean the stems: Use a damp cloth to clean the stems and remove any grease or debris. This will ensure a secure fit for the covers.
- Attach the covers: Place the covers over the stems and press down firmly until they snap into place. Make sure they’re secure and flush against the stove.
- Test the covers: Try to turn the covers to make sure they’re secure and your baby can’t turn them. Then, test the release mechanism to make sure you can turn the burners on and off easily.
- Repeat: Install covers on all the stove knobs.
Tips for using stove knob covers
- Practice using the covers: Before your baby is mobile, practice using the stove knob covers so you’re comfortable with the release mechanism. This will make it easier to use the stove when your baby is around.
- Keep the stove clean: Grease and debris can make it harder to use the stove knob covers. Clean the stove regularly to ensure the covers work properly.
- Never leave the stove unattended: Even with stove knob covers, it’s important to never leave the stove unattended when it’s in use. Always turn off the burners and remove any pots or pans when you’re done cooking.
- Teach your baby about stove safety: From an early age, teach your baby that the stove is hot and dangerous. Use simple, clear language like “hot” and “no touch.”
- Consider a stove guard: In addition to stove knob covers, consider installing a stove guard. This is a clear barrier that prevents your baby from reaching the burners. It’s especially useful if you have a gas stove, as it can prevent your baby from reaching the flames.
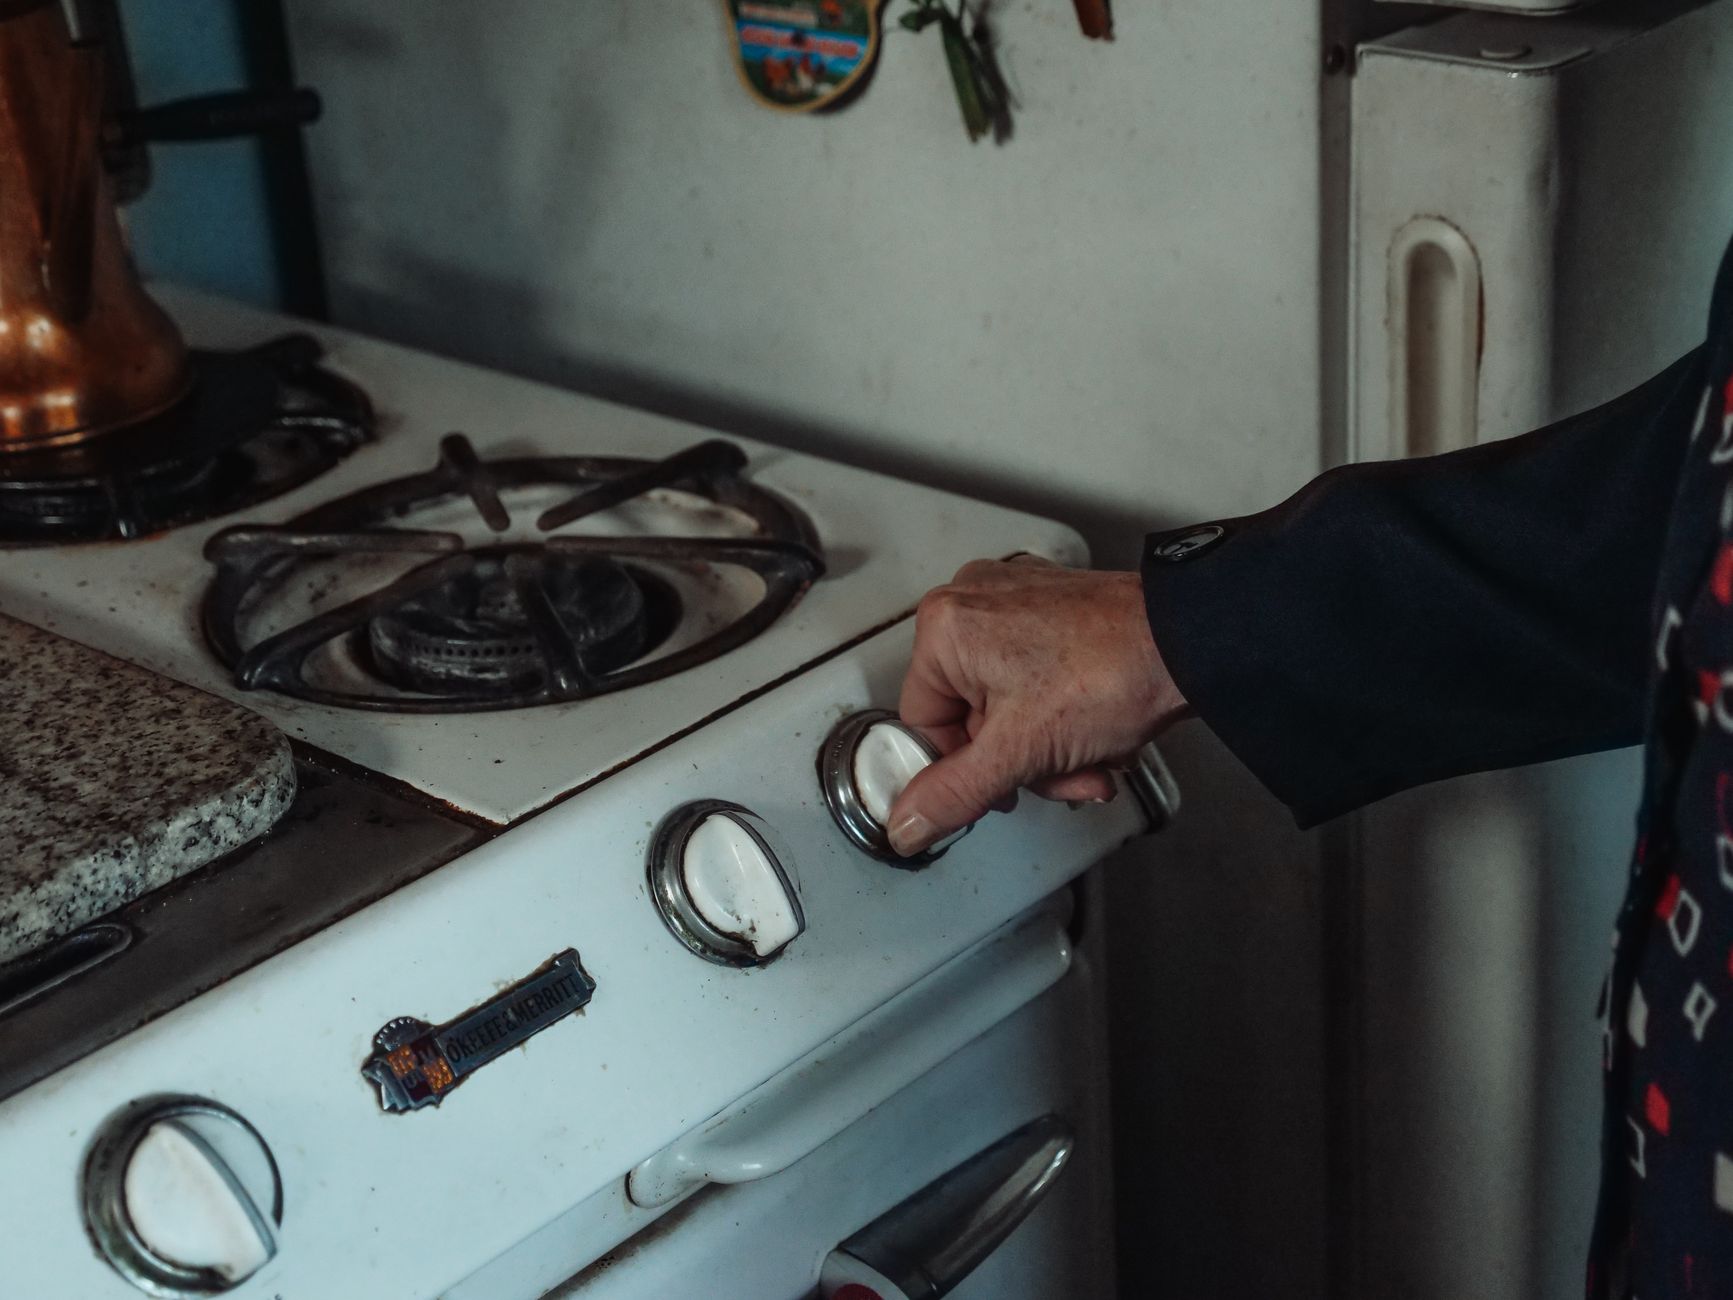
What are the safest kitchen floor mats for toddlers (non-slip, easy to clean, and durable)
The kitchen floor is one of the most high-traffic areas in your home, and it’s also one of the most hazardous for babies and toddlers. Slips, falls, and spills are common, and the wrong type of flooring or mat can make these accidents even more dangerous. Here’s what to look for in a safe kitchen floor mat for toddlers, along with our top picks for 2026.
Why safe kitchen floor mats matter
A good kitchen floor mat serves several important purposes:
- Prevent slips and falls: A non-slip mat provides traction for both you and your baby, reducing the risk of slips and falls.
- Cushion falls: A thick, cushioned mat can soften the impact if your baby falls, reducing the risk of injury.
- Protect your baby’s knees: If your baby is learning to crawl or walk, a soft mat can protect their knees from hard floors.
- Define a safe play area: A mat can create a designated play area in the kitchen, keeping your baby away from dangerous appliances and cabinets.
- Easy to clean: Kitchen mats get dirty quickly. A mat that’s easy to clean will save you time and effort.
What to look for in a safe kitchen floor mat for toddlers
When choosing a kitchen floor mat for your toddler, consider the following factors:
- Non-slip backing: Look for a mat with a non-slip backing to prevent it from sliding on the floor. This is especially important if your kitchen floor is tile, vinyl, or hardwood.
- Cushioned: A thick, cushioned mat will provide more protection if your baby falls. Look for a mat that’s at least 0.5 inches thick.
- Easy to clean: Choose a mat that’s easy to wipe clean or machine washable. Avoid mats with deep grooves or textures that can trap dirt and bacteria.
- Durable: Kitchen mats take a lot of wear and tear. Look for a mat that’s made from durable materials and can withstand spills, stains, and heavy foot traffic.
- Size: Consider the size of your kitchen and the area you want to cover. A larger mat will provide more protection, but it may not fit in smaller kitchens.
- Material: Look for a mat made from non-toxic, hypoallergenic materials. Avoid mats made from PVC or other materials that can off-gas harmful chemicals.
- Design: Choose a mat with a fun, colorful design that your baby will love. This can help define a safe play area and encourage your baby to stay on the mat.
Top safe kitchen floor mats for toddlers in 2026
Here are our top picks for safe kitchen floor mats for toddlers in 2026, based on safety, durability, and customer reviews:
How to use a kitchen floor mat safely
Once you’ve chosen a safe kitchen floor mat for your toddler, follow these tips to use it safely:
- Secure the mat: Make sure the mat is secure and doesn’t slide on the floor. If the mat doesn’t have a non-slip backing, use a rug gripper pad underneath it.
- Keep the mat clean: Clean the mat regularly to prevent the buildup of dirt, bacteria, and allergens. Follow the manufacturer’s instructions for cleaning.
- Inspect the mat regularly: Check the mat for signs of wear and tear, such as fraying edges or holes. Replace the mat if it’s damaged.
- Supervise your baby: Even with a safe mat, it’s important to supervise your baby when they’re in the kitchen. Never leave them unattended.
- Teach your baby about mat safety: From an early age, teach your baby that the mat is a safe place to play. Encourage