Discover the best pregnancy maternity photoshoot posing ideas with our quick guide: simple, creative poses that showcase your glow and make lasting memories.
By Shubhra Mishra — a mom of two who turned her own confusion during pregnancy into BumpBites, a global mission to make food choices clear, safe, and stress-free for every expecting mother. 💛
Check whether any food is safe during pregnancy with the BumpBites Food Safety Checker.
Quick take: Yes—you can create stunning, safe maternity photos at any stage, but the sweet spot is around 28‑34 weeks when the belly is nicely rounded and you’re still comfortable. Choose soft, stretchy outfits, use natural light whenever possible, and keep poses simple and supported. Involve partners, kids, or pets with gentle, guided poses, and use props that are light and easy to handle.
It’s 8 p.m., you’re curled on the couch with a cup of tea, and a gentle kick reminds you that the baby bump you’ve been admiring in the mirror is ready for its close‑up. You scroll for “pregnancy maternity photoshoot posing ideas” and feel a swirl of excitement mixed with a dash of nerves—what if you look awkward? What if the photographer can’t capture the glow?
Take a breath. You’re not alone. Many expectant moms start their photo journey with the same mix of wonder and worry. The good news is that a beautiful maternity shoot is less about fancy equipment and more about timing, comfort, and a few thoughtful pose tricks. Below you’ll find a step‑by‑step guide that covers everything from the perfect gestational week to lighting, outfit choices, safe props, and pose variations for every body type.
We’ll walk through creative ideas for beginners, partner and family poses, solo portrait tips, plus‑size friendly suggestions, seasonal inspirations, and even how to transition the shoot after the baby arrives. By the end you’ll have a printable checklist, a handy lighting table, and the confidence to strike a pose that celebrates your growing family.
Creative pregnancy maternity photoshoot posing ideas for beginners
Starting a maternity shoot can feel intimidating, but you don’t need a runway model’s repertoire to look radiant. The key is to focus on three fundamentals: connection, comfort, and simplicity.
Begin with a centered, three‑quarter turn to showcase the curve of the belly. Place one hand gently beneath the bump, the other resting on the waist. This classic “embrace the bump” pose creates a natural line that draws the eye to the baby’s home. If you’re nervous about your posture, imagine you’re holding a delicate balloon—just enough pressure to keep it afloat without squeezing it.
Another beginner‑friendly idea is the over‑the‑shoulder glance. Turn slightly away from the camera, then look back over one shoulder with a soft smile. This pose adds a sense of mystery and elongates the neck, while still highlighting the belly. Keep your shoulders relaxed; a slight roll forward prevents tension in the upper back.
For a more dynamic feel, try a walking pose. Choose a flat, safe surface, and take a few slow steps toward the camera. Swing your arms naturally—this creates gentle motion and prevents a stiff look. If you’re worried about balance, place one foot slightly ahead of the other and focus on a point in front of you. The camera will capture a graceful silhouette that feels both lively and intimate.
When you’re ready to experiment, incorporate a soft fabric like a sheer shawl or a light blanket. Drape it over one shoulder or let it cascade behind you. The fabric adds texture and can be used to partially conceal the bump, creating a sense of anticipation. Just ensure the material isn’t too heavy; you should be able to lift it off without straining.
Below is a quick pose checklist for beginners. Print it out and tick each item as you rehearse in front of a mirror.
Pose
Key Cue
Safety Tip
Centered embrace
Hand under belly, other hand on waist
Keep elbows slightly bent
Over‑shoulder glance
Turn 45°, look back over shoulder
Relax shoulders, avoid hunching
Walking silhouette
Slow steps, natural arm swing
Choose even ground, watch footing
Shawl drape
Wrap lightly, let it flow
Use breathable fabric, avoid overheating
Remember, the best pose is the one that feels natural to you. If a particular angle feels uncomfortable, modify it—your comfort translates directly into confidence on camera.
Outdoor maternity photoshoot poses with partner
Couple shots add a narrative of love and anticipation. The outdoors provides a soft, natural backdrop that can make your connection shine. The first step is to pick a location that feels meaningful—a park where you’ll walk your stroller, a garden that reminds you of spring, or a quiet beach at sunrise.
One of the most flattering poses is the “protective hug”. Stand side‑by‑side, your partner wrapping his arms around your waist while you rest one hand on his shoulder. This creates a gentle arch around the bump, emphasizing the shared excitement. Encourage your partner to look at you rather than the camera; the intimacy of that gaze tells a story.
If you want a more active vibe, try the “walking hand‑in‑hand” pose. Walk slowly toward the camera, holding hands loosely. Your partner can lift his hand to rest lightly on your belly, symbolizing his role in the upcoming journey. This pose works especially well in golden hour light, when the sun casts a warm glow that accentuates skin tones.
For a romantic, timeless feel, consider the “standing tall” pose. Your partner stands slightly behind you, placing both hands on your hips or gently cradling the bump. Tilt your chin up, and let your shoulders relax. This stance elongates both bodies and highlights the unity of your partnership.
Safety is paramount. Choose a stable surface, avoid steep slopes, and keep props like blankets or flower crowns lightweight. If you’re near water, ensure the ground isn’t slippery. A gentle reminder: keep hydrated, especially if you’re shooting in warm weather.
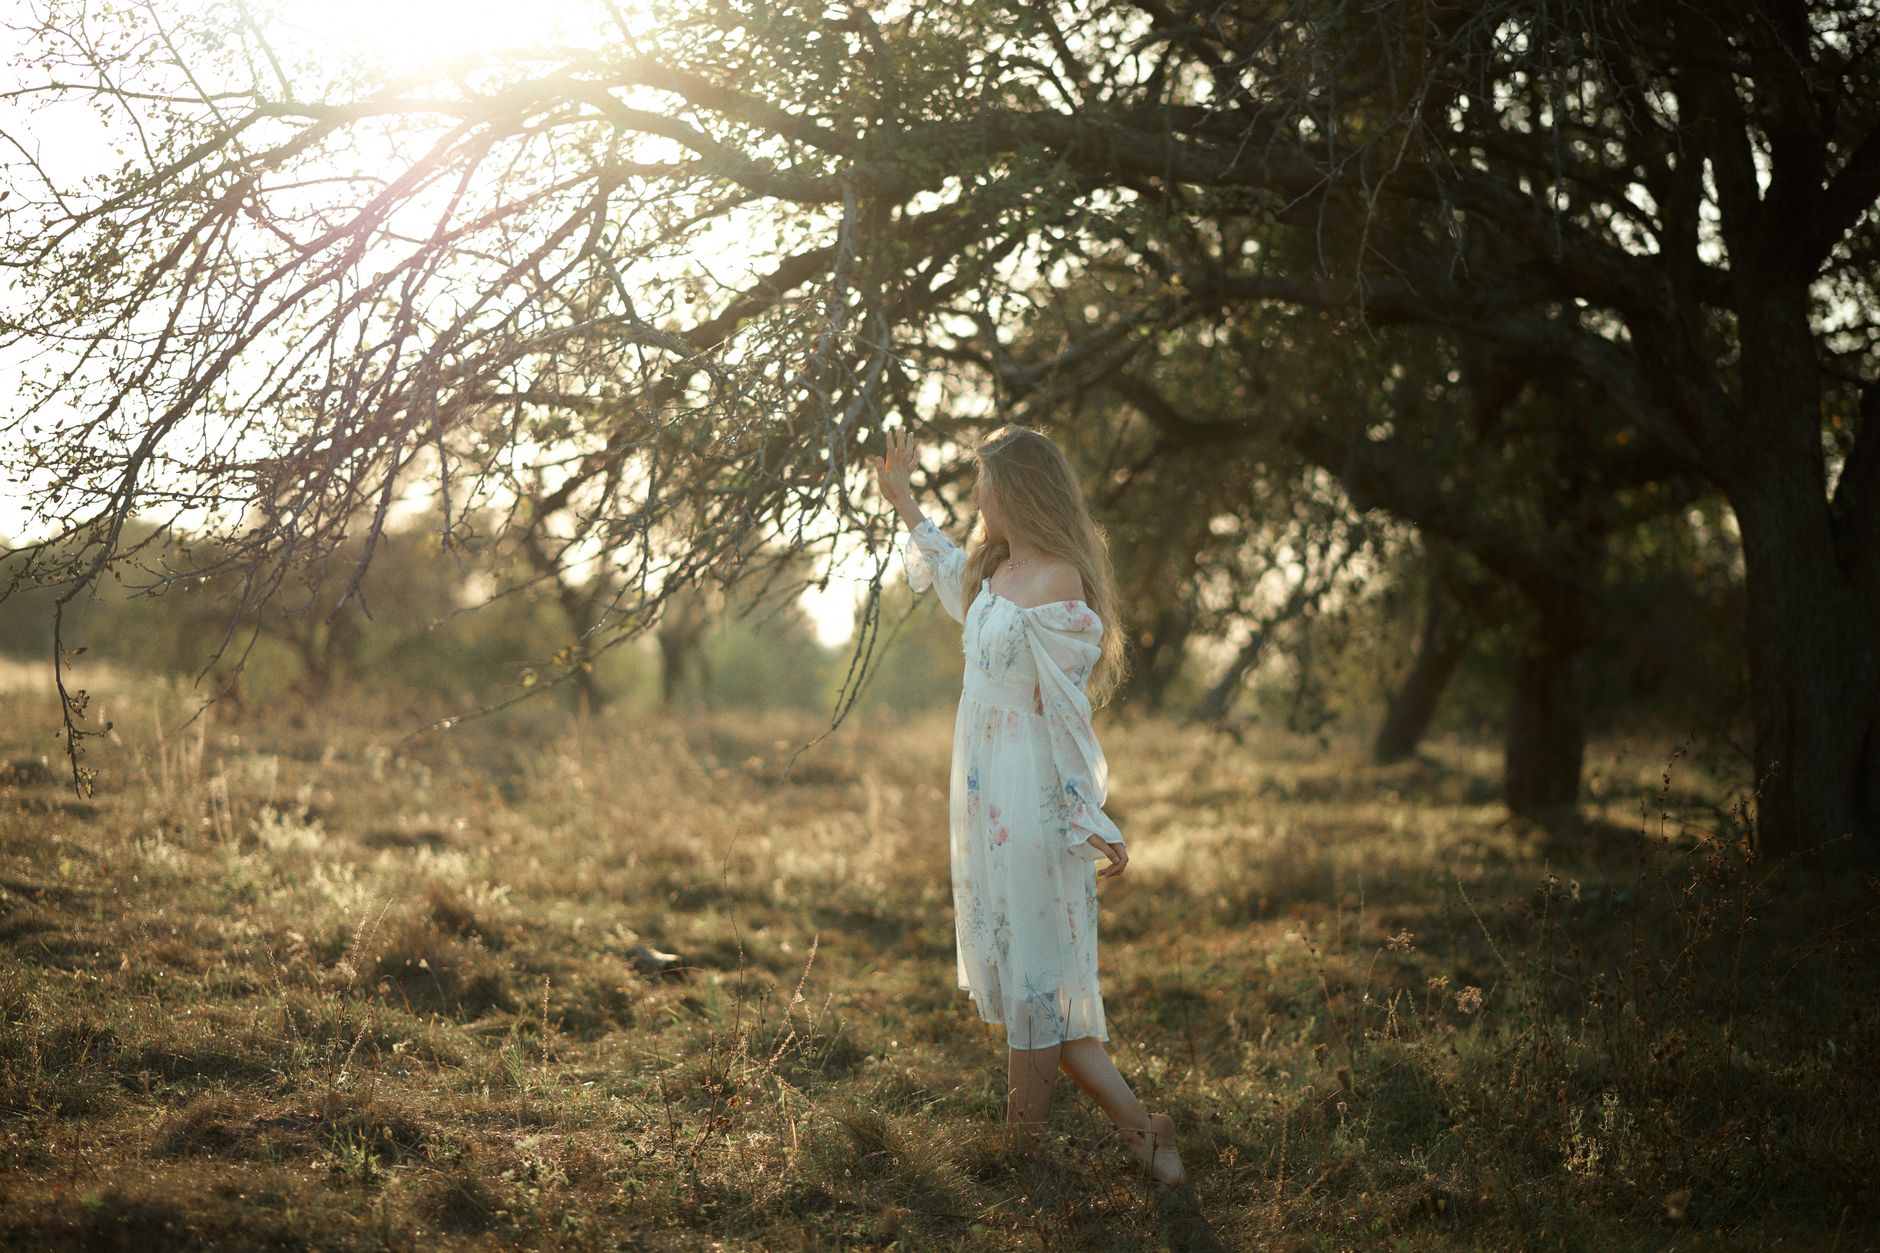
Many couples ask about lighting. The best time of day for outdoor maternity photos is during the “golden hour”—the hour after sunrise or before sunset—when the light is diffused and warm. It reduces harsh shadows and flatters all skin tones. If you must shoot midday, look for shaded areas under trees or awnings to avoid direct sunlight that can create unflattering highlights.
Solo maternity portrait poses with baby bump
Solo portraits let you focus entirely on the miracle growing inside you. The goal is to highlight the bump while showcasing your personality. Here are three go‑to poses that work for a variety of settings.
1. The Profile Silhouette—Stand sideways to the camera, turn your head slightly toward the lens, and let your arms rest gently on your hips or slide them along the belly. This creates a clean, elegant line that emphasizes the curve. If you’re near a window, position yourself so the natural light falls on the side of your face, casting a soft glow.
2. The Sitting Pose—Sit on a low stool or a blanket on the grass. Cross your legs at the ankles, and place both hands on the belly, palms up. This pose relaxes the lower back and allows you to look down with a tender smile. For added visual interest, place a soft pillow or rolled towel behind your back for support.
3. The Overhead Shot—Lie on a plush rug or a large blanket, and have the photographer shoot from directly above. Extend your arms out to the sides, forming a gentle “V” shape, and let your belly be the focal point. This perspective is especially striking in the later weeks when the bump is round and full.
When choosing outfits, opt for solid, muted colors like ivory, pastels, or earth tones that don’t compete with the natural glow of your skin. Textured fabrics—knit sweaters, silk scarves—add depth without overwhelming the image. If you love patterns, choose subtle, small prints that won’t distract from the bump.
Comfort is key. Use a supportive cushion or a yoga block under your hips when sitting, and keep a water bottle nearby. If you feel any strain in your lower back, adjust the pose by widening your stance or using a prop for extra support.
Maternity photoshoot poses for plus‑size moms
Every body is beautiful, and plus‑size moms have plenty of options to showcase their curves. The most important rule is to choose poses that celebrate the natural shape of the belly and keep you feeling strong and comfortable.
Full‑body standing pose—Stand tall with feet hip‑width apart. Place both hands on the belly, one above the other, creating a gentle “crown” effect. This pose elongates the torso and draws the eye upward, balancing the silhouette. A subtle shift of weight onto your back foot can relieve pressure on the hips.
Side‑lean pose—Lean gently against a tree or a wall, keeping one shoulder slightly forward. Rest the arm nearest the wall on a low bench for support, and let the opposite hand cradle the belly. The diagonal line formed by the lean adds dynamic interest while keeping the pose relaxed.
Seated on a chair—Choose a sturdy chair with a high back. Sit near the edge, cross your legs, and place your hands on the belly. The chair’s back provides support, and the angle helps define the waistline. If you’d like a softer look, drape a light shawl over your shoulders.
When it comes to clothing, high‑waisted leggings or stretchy maxi dresses are excellent choices. They hug the belly without pinching and create a seamless line from hips to shoulders. Darker shades can be slimming, while a pop of color on a top or accessories draws attention upward.
Safety tip: Avoid poses that require you to lift heavy objects or balance on one leg for extended periods. Use a sturdy surface for any leaning pose, and always have a partner or photographer nearby to steady you if needed.
How to pose with a newborn after birth in maternity photos
After delivery, many families want to capture the transition from pregnancy to newborn. The key is to keep the session gentle, short, and focused on bonding.
Start with the “Newborn cradled” pose. Sit on a comfortable chair or couch, and have a friend or partner hold the newborn in a safe, swaddled position. Place your hands gently over the baby, aligning your belly with the infant’s head. This creates a visual line that links the two stages of life.
Another tender option is the “Side‑by‑side cuddle”. Lie on a soft blanket on the floor, with the newborn placed next to your belly. Rest your forearm on the baby, and let your other hand support the bump. Look down at the infant, and let a soft smile appear. This pose works well with natural window light, providing a warm, intimate atmosphere.
If you’re comfortable, try the “Standing with baby” pose. With a sturdy support (a chair or a low table), stand upright, and hold the newborn close to your chest, cradling both the baby and your belly. The slight upward tilt of the head adds a sense of pride and anticipation.
Safety is paramount: always have an adult other than the mother hold the newborn while the mother moves into a pose. Keep the newborn’s head supported, and avoid any positions that could cause strain on the mother’s abdomen—especially in the first few weeks after a C‑section.
Outfit ideas for post‑birth shoots often involve simple, breathable clothing like a loose white tee paired with a soft cardigan. The lighter colors keep the focus on the newborn’s delicate skin and the mother’s glowing complexion.
Seasonal maternity photoshoot posing ideas for fall
Fall offers a rich palette of amber, rust, and deep greens that can add warmth to maternity images. The season also provides natural props—fallen leaves, pumpkins, and cozy blankets—that enhance the storytelling.
Leaf‑burst pose—Stand in a shallow pile of colorful leaves, and gently toss a handful upward. Capture the moment as leaves cascade around you, with your belly highlighted by the soft, golden light. The motion adds a playful element while the earthy tones complement the skin’s natural glow.
Pumpkin sit—Sit on a low wooden crate or a sturdy pumpkin, and wrap a chunky knit blanket around your shoulders. Place both hands on the belly, and let a small pumpkin sit in front of the bump as a subtle prop. This creates a cozy, harvest‑themed composition.
Window‑light reading—Near a large window, curl up with a favorite book, a cup of tea, and a soft scarf. The diffused autumn light filters through the glass, illuminating your face and the curve of the belly. This pose conveys calm and anticipation—a perfect reflection of the season’s reflective mood.
When selecting wardrobe, think layers: a long-sleeve knit sweater, a plaid scarf, or a suede coat. Earthy colors—burnt orange, olive, deep burgundy—harmonize with the backdrop while keeping the focus on the bump.
Remember to protect yourself from cooler temperatures. Dress in layers you can easily remove if you become warm, and bring a hot beverage to stay comfortable during longer shoots.
Using props in pregnancy photoshoot poses
Props can add storytelling depth, but they must be safe and light. Below are some favorite prop ideas and how to incorporate them without compromising comfort.
Floral crowns or garlands—Place a soft flower crown on your head, or drape a garland across your shoulders. Choose lightweight blooms and avoid heavy stems that could pull on the hair.
Fabric blankets or shawls—A sheer, pastel blanket can be wrapped loosely around the shoulders, creating a flowing silhouette. Ensure the fabric is breathable and not too heavy.
Letters or signs—Hold a wooden sign that reads “Baby [Last Name]” or “Coming Soon.” Keep the board small (no larger than 12 × 12 in) so it’s easy to hold.
Seasonal items—Pumpkins for fall, seashells for summer, or twinkling lights for winter. Use items that are smooth and won’t have sharp edges.
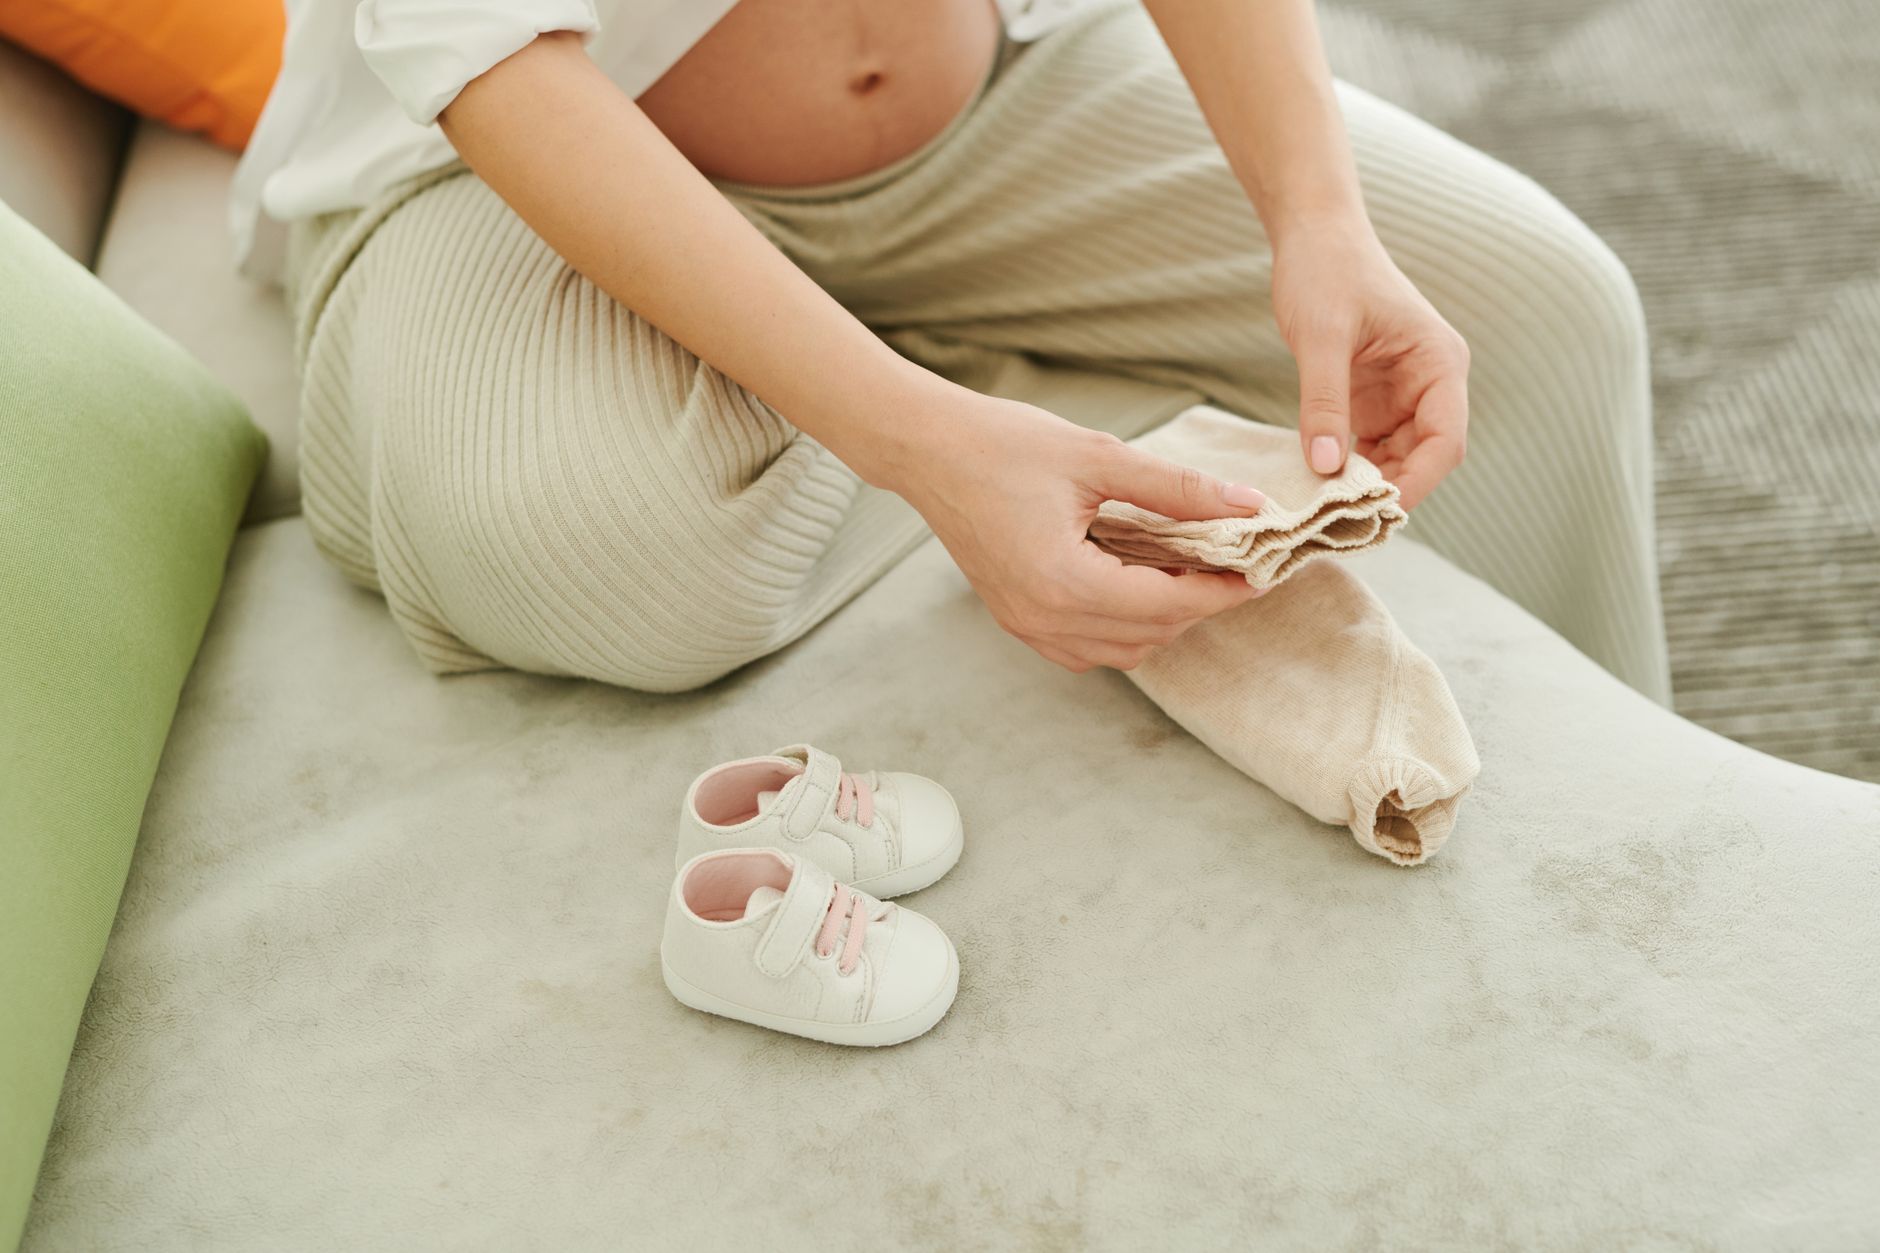
Baby shoes or tiny outfits—Lay them on a blanket next to your belly. This creates a visual cue of the upcoming arrival without needing the newborn present.
To stay safe, always test the weight of a prop before the session. If it feels heavy, swap it for a lighter alternative. Keep props within arm’s reach so you don’t have to stretch or bend awkwardly.
Natural lighting maternity photoshoot pose tips
Natural light is forgiving and flattering, especially for maternity portraits. Here are essential tips to make the most of daylight.
1. Choose the right time—The “golden hour,” roughly one hour after sunrise or before sunset, provides a soft, warm glow that reduces harsh shadows. If you’re shooting midday, seek shade under a tree, a pergola, or an awning.
2. Position yourself at a 45‑degree angle—Standing perpendicular to the light source (e.g., a window) creates gentle highlights on one side of the face and belly, adding dimension. Avoid facing the light directly, which can flatten features.
3. Use reflectors sparingly—A white foam board or a cheap reflector can bounce light onto the shadow side, brightening the belly without creating glare. Position the reflector opposite the light source and keep it low to avoid harsh reflections.
4. Soft indoor light—If you shoot indoors, place yourself near a large window with sheer curtains. The diffused light creates a calm atmosphere. Turn off overhead fluorescent lights to prevent mixed color temperatures.
Below is a quick reference for the best lighting conditions based on time of day.
Time of Day
Lighting Quality
Recommended Pose
Sunrise (first hour)
Warm, soft, low angle
Side profile with gentle smile
Mid‑morning (9‑11 am)
Bright, direct
Shade under tree, seated pose
Golden hour (1‑2 hrs before sunset)
Golden, flattering
Standing silhouette, backlit
Evening (after sunset)
Cool, low‑light
Indoor candlelight, intimate
When shooting outdoors, wear sunscreen on exposed skin, and bring a light sweater if temperatures drop. Keep a bottle of water handy to stay hydrated, which helps maintain a healthy glow.
Golden hour light adds a warm glow to any maternity pose.
Additional practical tips: timing, outfits, and comfort
While the eight sections above cover the creative side of posing, a successful shoot also hinges on practical decisions.
Optimal gestational weeks—Most photographers recommend between 28 and 34 weeks. At 28 weeks the belly is pronounced, yet you still have enough energy for a few outfit changes. By 34 weeks you’re close to the “peak” curve, but mobility may start to feel limited. If you’re a first‑time mom, schedule the session a week or two before the “peak” to avoid any last‑minute discomfort.
Outfit and color choices—Solid, muted tones such as ivory, soft gray, pastel pink, or dusty blue keep the focus on the baby bump. Avoid busy patterns that can distract the eye. For a pop of color, consider a bright scarf or a statement necklace. If you’re photographing with a partner, coordinate complementary colors—think “soft neutrals with one accent shade” rather than matching exactly.
Comfort and safety—Never push through pain. Use a yoga block or a pillow under your knees when sitting on the floor. If you feel any strain in your lower back, switch to a seated pose with back support. Keep your shoes on if you’ll be standing for a while; supportive flats or low‑heeled sandals prevent foot fatigue.
Camera settings for outdoor shoots—If you’re using a DSLR or mirrorless camera, set the aperture between f/2.8 and f/4 to achieve a shallow depth of field that blurs the background while keeping the bump in focus. For sunny conditions, start with an ISO of 100–200 and adjust as needed. If you’re shooting with a smartphone, enable “portrait mode” and tap on the belly area to ensure it stays in sharp focus.
DIY at‑home ideas—A simple home shoot can be magical. Hang a white sheet as a backdrop, place a soft rug on the floor, and let natural light stream through a window. Use a tripod or a stable surface for your phone, set a 2‑minute timer, and experiment with poses from the checklist. The intimacy of a home environment often yields authentic, heartfelt images.
Simple home props like baby shoes add sentiment without distraction.
From our medical team: Maternity photography is safe for most pregnant people, but always listen to your body. If a pose causes discomfort, pause and modify it. Keep hydration, wear supportive shoes, and avoid prolonged standing in hot sun. If you have a high‑risk pregnancy—such as placenta previa or pre‑eclampsia—consult your obstetrician before scheduling a shoot.
Myth vs. fact
Myth: You need to be a model to look good in maternity photos.
Fact: Confidence, comfort, and good lighting matter more than runway experience. Simple poses and natural light work for all body types.
Myth: You must wait until the last month for the best belly shape.
Fact: The belly becomes nicely rounded around 28‑34 weeks, offering a balance of shape and comfort. Earlier weeks can be beautiful too, especially for “first‑trimester” storytelling.
Myth: Props are optional and don’t affect the photo’s meaning.
Fact: Thoughtful props—like a tiny shoe or a seasonal wreath—add narrative depth and can make a photo feel more personal and timeless.
Key takeaways
Schedule your shoot between 28‑34 weeks for the ideal bump shape and energy level.
Choose soft, stretchy outfits in solid, muted colors; coordinate with partners for complementary tones.
Prioritize natural light during golden hour or use shaded areas to avoid harsh shadows.
Use simple, safe props—light blankets, flowers, or baby shoes—to add storytelling without strain.
Adapt poses to your body type: standing, seated, or leaning options work for all sizes.
Keep a pose checklist handy, stay hydrated, and listen to your body throughout the session.
Frequently asked questions
What are the most flattering poses for a pregnant belly?
The most flattering poses gently highlight the curve: a hand‑under‑the‑bump embrace, a side profile with a slight turn, or an over‑shoulder glance. These angles create a natural silhouette and keep the focus on the belly.
Should I hire a professional photographer for my maternity shoot?
Professional photographers bring expertise in lighting, composition, and posing, which often results in higher‑quality images. However, a skilled friend with a good smartphone and natural light can also produce beautiful results if you follow the pose checklist and lighting tips.
How many photos should I take during a maternity session?
A typical 60‑minute session yields 30‑50 edited images. Aim for a mix of close‑ups, full‑body shots, and candid moments. Quality outweighs quantity—focus on a few well‑composed frames rather than hundreds of rushed snaps.
Can I use my phone for a maternity photoshoot?
Yes. Modern smartphones have portrait modes and high‑resolution sensors that capture fine details. Use a tripod or stable surface, enable HDR, and tap on the belly to lock focus. Natural light and a simple background will enhance the results.
What props are safe to use in a pregnancy photoshoot?
Light, non‑sharp props such as soft blankets, fabric crowns, small wooden signs, or tiny baby shoes are safe. Avoid heavy items, glass objects, or anything that could cause you to lose balance.
When is the best week in pregnancy for a maternity photoshoot?
Most expectant parents find weeks 28‑34 ideal. The belly is visibly rounded, yet you still have enough stamina for poses and outfit changes. If you have a high‑risk pregnancy, consult your provider for a suitable timeframe.
When to call your doctor
If you experience any of the following during a photoshoot, stop immediately and contact your obstetrician or midwife: sudden severe abdominal pain, heavy bleeding, dizziness, shortness of breath, or a feeling of “the baby slipping.” This article is for informational purposes only and does not replace personalized medical advice.
References
American College of Obstetricians and Gynecologists (ACOG). “Guidelines for Physical Activity During Pregnancy.” 2023.
National Health Service (NHS). “Maternity Photography: Safety and Timing.” Updated 2022.
World Health Organization (WHO). “Maternal Health and Imaging: Recommendations.” 2021.
American Academy of Pediatrics (AAP). “Newborn Care after Birth.” 2022.
Royal College of Obstetricians and Gynaecologists (RCOG). “Photography and Pregnancy: Best Practices.” 2023.
Mayo Clinic. “Pregnancy: When to Schedule a Maternity Photo Session.” 2022.
U.S. Food and Drug Administration (FDA). “Safe Use of Light and Heat in Pregnancy.” 2020.
British Association of Photographers (BAP). “Lighting Techniques for Lifestyle Portraits.” 2021.
Not sure about the label on Pregnancy Maternity Photoshoot Posing Ideas products?
Snap the ingredients list and SafeFilter checks every ingredient for your stage — only 3 free scans this month, then you're locked until reset. Unlimited from $7/mo or $50/yr.
When Shubhra Mishra was expecting her first child in 2016, she was overwhelmed by conflicting food advice — one site said yes, another said never. By the time her second baby arrived in 2019, she realized millions of mothers face the same confusion.
That sparked a five-year journey through clinical nutrition papers, cultural diets, and expert conversations — all leading to BumpBites: a calm, compassionate space where science meets everyday motherhood.
Her long-term vision is to build a global community ensuring safe, supported, and free deliveriesfor every mother — because no woman should face pregnancy alone or uninformed. 🌿
🌍 Stand with mothers, shape safer guidance
Join a small circle of experts who review BumpBites articles so expecting parents everywhere can decide with confidence.