Hospital‑grade pumps—like the Medela Symphony or Spectra S1—are built for high‑volume use, so they demand a more rigorous pump parts cleaning schedule than a handheld personal pump. Here’s a recommended timeline:
Adhering to this schedule helps maintain suction power, reduces the risk of bacterial contamination, and protects the pump’s warranty. If a hospital‑grade model is used in a NICU setting, the hospital’s infection‑control team may have additional requirements—always follow those protocols first.
Step‑by‑step guide to cleaning breast pump tubing and valves
The tubing and valves are often the hidden culprits behind mold or odor. Follow these precise steps for a thorough clean:
- Detach and inspect: After each pumping session, remove the tubing from the pump. Look for any milk residue at the connections.
- Rinse with warm water: Hold the tubing under a gentle stream of 30–40 °C (86–104 °F) water for 30 seconds. Avoid using high‑pressure streams that could damage the silicone.
- Soak in a mild disinfectant: Fill a bowl with 1 % hydrogen peroxide solution (mix one part 3 % peroxide with nine parts water). Submerge the tubing and valves for 5 minutes.
- Brush gently (optional): If residue remains, use a dedicated silicone brush—never a metal or hard‑plastic brush—to scrub the interior. Move the brush back and forth while rotating the tubing.
- Rinse again: Run warm water through the tubing until no disinfectant smell remains.
- Air‑dry: Hang the tubing vertically on a clean drying rack. Ensure the valves are positioned open to allow airflow inside.
- Inspect before reuse: Shine a flashlight through the tubing; any cloudiness or lingering particles indicate the need for another soak.
For pumps with detachable silicone valves, repeat the soak and brush steps for the valves themselves. This routine, done weekly, keeps the tubing clear and prevents biofilm formation that can harbor harmful bacteria.
What temperature is safe for sterilizing breast pump accessories?
Temperature matters because too hot can deform silicone, while too cool may not kill microbes. The CDC’s “Guidelines for Disinfection and Sterilization” recommends:
- Boiling water: 100 °C (212 °F) for 5 minutes is safe for most silicone parts, but check your manufacturer’s manual—some pumps advise against prolonged boiling.
- Steam sterilizer (autoclave): 121 °C (250 °F) for 10 minutes is the gold standard for hospital‑grade equipment. Most home steam sterilizers meet this specification.
- Dishwasher: Use the “top‑rack, high‑heat” setting (usually 65–75 °C / 149–167 °F). Avoid the bottom rack where heating elements can cause direct contact.
- Cold‑water disinfection: A 0.1 % bleach solution (1 tsp bleach in 1 L water) for 10 minutes is acceptable if heat is unavailable, but rinse thoroughly.
Never use temperatures above 85 °C (185 °F) for more than a few minutes on delicate silicone membranes, as they can become brittle and lose elasticity, compromising suction.
How to prevent mold growth in breast pump parts
Mold is the nightmare of any lactating parent. Here’s how to keep it at bay within your pump parts cleaning schedule:
- Dry thoroughly: Moisture is mold’s best friend. After washing, place parts on a clean towel or drying rack for at least 30 minutes before storage.
- Store in a ventilated container: Use a breathable fabric bag or a container with a small vent; avoid airtight plastic bags that trap humidity.
- Rotate accessories: If you have multiple sets of bottles and membranes, rotate them weekly. This ensures each set gets a full cleaning cycle.
- Use a mold‑inhibiting solution: A 0.5 % vinegar solution (1 part white vinegar to 200 parts water) can be used for a quick 2‑minute soak after each wash.
- Inspect before each use: Look for any discoloration, fuzzy spots, or a sour odor—signs that cleaning was insufficient.
Following these steps eliminates the conditions mold needs to thrive, protecting both your baby’s health and the longevity of the pump.
Recommended cleaning frequency for silicone breast pump membranes
Silicone membranes are the most delicate part of a pump and need special care. The manufacturer’s guidelines usually converge on the following schedule:
- After each use: Rinse with warm, soapy water and pat dry.
- Weekly: Soak in a diluted enzymatic cleaner (e.g., 0.1 % baby bottle wash solution) for 5 minutes, then rinse.
- Monthly: Perform a full steam‑sterilization cycle (121 °C for 10 minutes) if the membrane is rated for it.
- Every 6 months: Replace the membrane if it shows cloudiness, stiffness, or loss of elasticity.
Skipping any of these steps can lead to residual milk solids, which degrade suction and may cause bacterial growth. Remember, the pump’s warranty often becomes void if you fail to follow the recommended cleaning frequency.
Can I use dishwasher for breast pump parts cleaning schedule?
Many modern pumps are dishwasher‑safe, but not all parts are. Here’s a quick decision tree:
- Check the manual: Look for the dishwasher‑safe symbol (usually a plate with water droplets). If it’s missing, assume the part should be hand‑washed.
- Top‑rack only: Place bottles, flanges, and silicone membranes on the top rack to avoid direct heat.
- Use a gentle cycle: Choose “Normal” or “Eco” with a moderate temperature (65–75 °C). Avoid “Heavy” or “Sanitize” cycles that exceed 85 °C.
- Do not place tubing: Tubing should never be placed in the dishwasher; the high heat can warp the silicone and create micro‑tears.
If you’re unsure, default to hand washing. This conservative approach protects your equipment while still meeting hygiene standards.
How to clean breast pump parts after each use vs weekly
A clear distinction between “after each use” and “weekly” cleaning helps you stay organized and prevents shortcuts.
After each use
- Rinse all milk‑contact surfaces (bottles, flanges, membranes, shields) under warm running water.
- Wash with a mild, fragrance‑free soap. Use a soft brush or your fingertips—avoid abrasive sponges.
- Rinse thoroughly to remove all soap residue.
- Air‑dry on a clean towel or rack; do not towel‑dry, as this can re‑introduce bacteria.
Weekly deep clean
- Disassemble the pump completely (remove tubing, valves, and any detachable silicone pieces).
- Soak all components in a 0.1 % bleach solution or an enzymatic cleaner for 10 minutes.
- Run a dishwasher cycle (top rack) or a steam sterilizer for 10 minutes, if the parts are rated for it.
- Inspect every piece for residue or wear before reassembly.
- Store in a dry, ventilated container.
By separating daily hygiene from weekly sterilization, you maintain milk safety without spending hours on cleaning after every session.
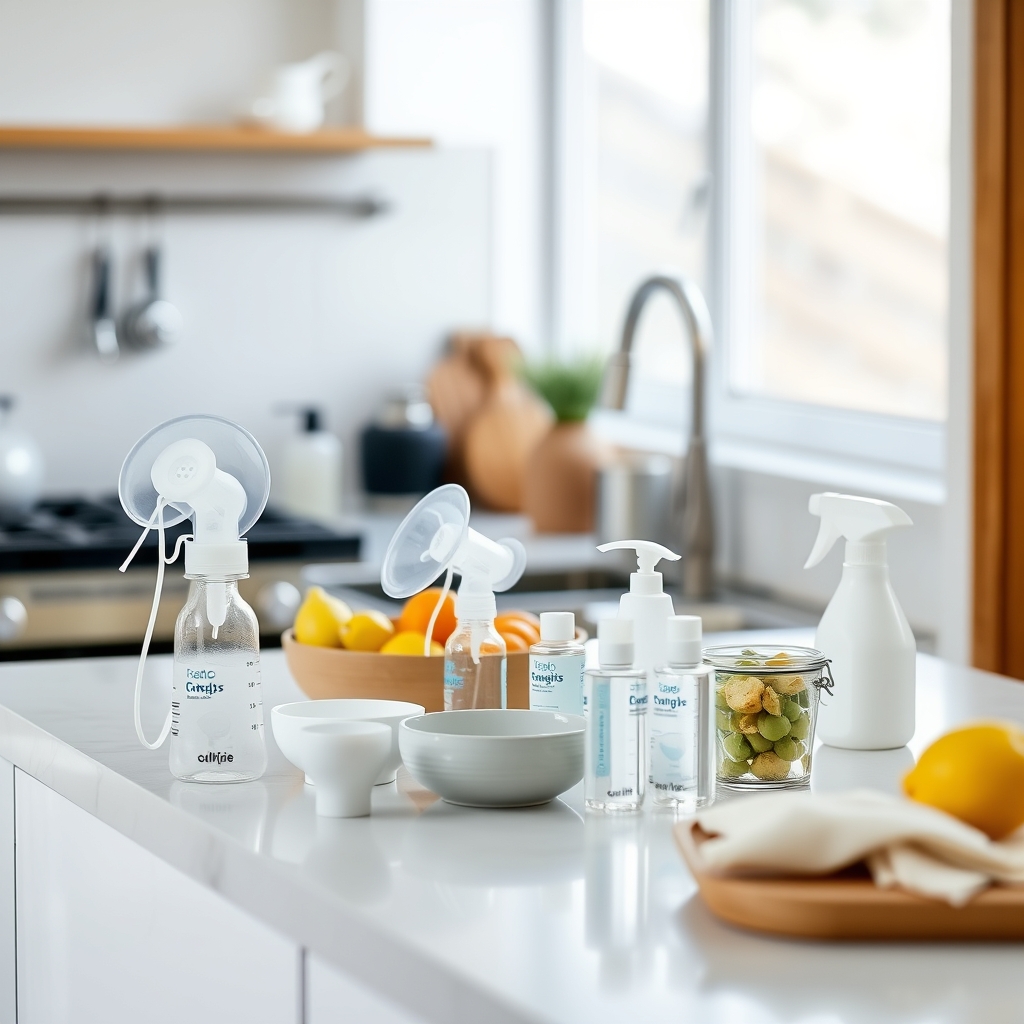
Breast pump cleaning checklist printable
Having a visual reminder can make a cleaning routine feel less like a chore. Below is a printable checklist you can hang on your fridge or bathroom mirror. Print it, check boxes as you go, and feel confident that every step is covered.
Print this table, tape it to the inside of your pump’s storage case, and check each box as you complete the tasks. The visual cue helps you stay consistent, especially during busy weeks.
Difference between cleaning and sterilizing breast pump parts
Many parents use “cleaning” and “sterilizing” interchangeably, but they serve distinct purposes:
- Cleaning removes visible milk, residue, and dirt. It typically involves warm water and soap. Cleaning is essential after every pumping session to prevent bacterial growth.
- Sterilizing kills any remaining microorganisms, including those that are invisible to the naked eye. Methods include boiling, steam‑sterilization, or using a chemical disinfectant (e.g., bleach solution). Sterilization is recommended weekly for infants under three months or when any part shows signs of contamination.
Both steps are part of a comprehensive pump parts cleaning schedule. Skipping either can compromise milk safety.
Effects of improper cleaning on breast milk supply
While the primary concern with poor hygiene is bacterial contamination, there’s also a subtle impact on milk supply. Studies from the Academy of Breastfeeding Medicine (ABM) note that:
- Residual milk on pump parts can harbor Staphylococcus aureus and Enterobacter species, leading to subclinical mastitis.
- Subclinical mastitis can cause nipple pain, engorgement, and a temporary dip in milk production.
- Consistently clean equipment reduces the risk of infection, helping maintain a steady supply and a comfortable nursing experience.
If you notice a sudden drop in output, consider reviewing your cleaning routine before assuming a hormonal or feeding issue.
Travel‑friendly breast pump cleaning tips
Whether you’re heading on a weekend getaway or a long‑distance move, keeping your pump clean on the road is doable:
- Carry a silicone cleaning brush: Small, foldable brushes fit easily in a diaper bag and can scrub tubing without a full soak.
- Use a travel‑size sterilizer: Portable steam sterilizers (e.g., those powered by USB) can achieve 121 °C in 5 minutes.
- Pack a bottle of distilled white vinegar: A 2‑ounce vial can be mixed with water for a quick 5‑minute soak if you lack a dedicated cleaner.
- Pre‑wash before departure: Thoroughly clean all parts the night before you travel; then store them in a clean, breathable bag.
These strategies keep your pump ready for use, even when hotel sinks are limited.
How to clean breast pump parts without a brush
Not everyone owns a silicone brush, and sometimes a brush isn’t practical (e.g., in a public restroom). Here’s a brush‑free method:
- Fill a clean bowl with warm water (30–40 °C) and add a few drops of fragrance‑free dish soap.
- Submerge the tubing, valves, and membranes for 5 minutes, gently swirling to loosen residue.
- Take a clean, soft‑spun cloth and run it through the tubing, turning the tube inside out if possible.
- Rinse thoroughly under running water until all soap is gone.
- Air‑dry on a clean rack.
This method relies on the agitation of the water and the elasticity of silicone to dislodge milk, making it an effective alternative when brushes aren’t available.
Best cleaning solutions for breast pump accessories
Choosing the right cleaning agent is crucial. Here are three FDA‑approved options that are both safe for silicone and effective against bacteria:
- Mild dish soap (fragrance‑free): Ideal for daily cleaning. Look for “Free & Clear” formulations.
- Enzymatic cleaner (baby bottle solution): Breaks down protein residues, useful for weekly deep cleans.
- 0.1 % bleach solution: A standard disinfectant for sterilization; mix 1 tsp chlorine bleach with 1 L water. Rinse thoroughly.
Never use harsh chemicals like oven cleaners, bleach concentrations above 0.5 %, or any abrasive scrubbers, as they can degrade silicone and leave harmful residues.
How long does it take to clean a breast pump?
The time commitment varies by cleaning level:
- After each use: 5–7 minutes (rinse, soap, rinse, dry).
- Weekly deep clean: 15–20 minutes (disassembly, soak, dishwasher or steam, dry).
- Monthly deep‑clean: 30–35 minutes (full soak, inspection, possible part replacement).
Adding a timer or setting a reminder on your phone can help you stay consistent without feeling rushed.
DIY breast pump cleaning solution recipe
If you prefer a homemade, eco‑friendly cleaner, try this simple recipe that matches the efficacy of commercial enzymatic cleaners:
DIY cleaning solution: Mix 2 cups warm water, 1 tablespoon baking soda, and 1 teaspoon white vinegar. Stir until dissolved. Use this solution to soak parts for 10 minutes, then rinse thoroughly.
This blend neutralizes odors, breaks down milk proteins, and is gentle on silicone. Store any leftover solution in a sealed container for up to a week.
Myth vs. fact
Myth: Boiling breast pump parts for 10 minutes is always safe.
Fact: While boiling kills bacteria, prolonged exposure can warp silicone membranes, reducing suction. Follow manufacturer guidelines—most recommend a 5‑minute boil or a 10‑minute steam sterilization instead.
Myth: If the pump works, the parts are clean.
Fact: A pump can function with hidden bacterial buildup. Regular cleaning protects both your baby’s health and the pump’s longevity.
Myth: Dishwasher cleaning alone is enough for all parts.
Fact: Tubing and valves should never go in the dishwasher; they require hand washing or a dedicated soak to avoid heat damage.
Key takeaways
- Clean all milk‑contact parts after every session with warm, soapy water.
- Schedule a weekly deep‑clean (soak, dishwasher or steam) and a monthly inspection for wear.
- Use only manufacturer‑approved temperatures—121 °C for steam, 100 °C for brief boiling.
- Prevent mold by drying parts completely and storing them in a ventilated container.
- Silicone membranes need gentle handling; replace them every 6 months or sooner if damaged.
- Travel‑friendly cleaning is possible with portable steam sterilizers and vinegar solutions.
Frequently asked questions
How often should breast pump parts be cleaned?
Clean all parts that touch milk after each use, perform a thorough weekly sterilization, and schedule a monthly deep‑clean. This three‑tier schedule meets FDA and CDC recommendations for infant safety.
Can I put breast pump parts in the dishwasher?
Yes—if the manufacturer labels the part as dishwasher‑safe. Place bottles, flanges, and silicone membranes on the top rack using a gentle cycle (65–75 °C). Never put tubing or valves in the dishwasher, as the heat can warp them.
What is the safest way to sterilize breast pump accessories?
Steam sterilization at 121 °C for 10 minutes is the gold standard. If a steam sterilizer isn’t available, a 5‑minute boil or a 0.1 % bleach soak for 10 minutes are acceptable alternatives, followed by a thorough rinse.
Do I need to replace breast pump parts if they get moldy?
Yes. Mold indicates that cleaning was insufficient and the part is compromised. Replace any mold‑affected components immediately; continuing to use them can re‑contaminate milk and pose infection risks.
How long can I store cleaned breast pump parts before using them?
Once fully dried, cleaned parts can be stored for up to 7 days in a clean, ventilated container. For longer storage, keep them sealed in a breathable bag and re‑inspect before each use.
Is it okay to use boiling water to clean breast pump parts?
Boiling for 5 minutes is safe for most silicone components, but extended boiling (over 10 minutes) can cause warping. Always follow the pump’s specific instructions; many manufacturers recommend steam sterilization over boiling.
When to see a doctor or specialist
If you notice any of the following, contact your pediatrician, OB/GYN, or a lactation consultant right away:
- Persistent foul odor from milk or pump parts despite cleaning.
- Visible mold, discoloration, or cloudy silicone that does not disappear after soaking.
- Repeated breast pain, redness, or signs of mastitis after pumping.
- Infant symptoms such as vomiting, diarrhea, or fever that could indicate contaminated milk.
- Sudden drop in milk supply accompanied by nipple soreness.
These signs may indicate bacterial contamination or an infection that requires professional evaluation. Remember, this article provides general information and is not a substitute for personalized medical advice.
References
- U.S. Food and Drug Administration (FDA). “Guidance for Breast Pump Manufacturers.” 2023.
- Centers for Disease Control and Prevention (CDC). “Cleaning and Disinfecting Breast Pump Equipment.” 2022.
- Academy of Breastfeeding Medicine (ABM). “Clinical Protocol #12: Pump Hygiene.” 2021.
- American Academy of Pediatrics (AAP). “Guidelines for Safe Handling of Expressed Human Milk.” 2020.
- World Health Organization (WHO). “Infant Feeding: Guidelines for the Safe Use of Breast Milk.” 2022.
- Medela. “User Manual for Symphony Breast Pump.” 2023.
- National Institute of Child Health and Human Development (NICHD). “Breast Pump Cleaning Recommendations.” 2021.
- Harvard T.H. Chan School of Public Health. “Safe Practices for Handling Breast Milk.” 2022.
- American Medical Association (AMA). “Infection Prevention for Home Use Medical Devices.” 2023.